by Tom Roberts, December 2010
|
|
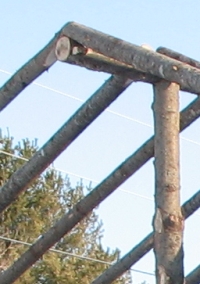
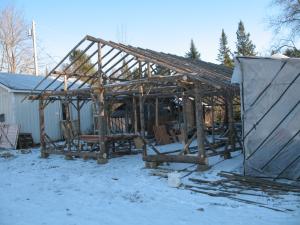
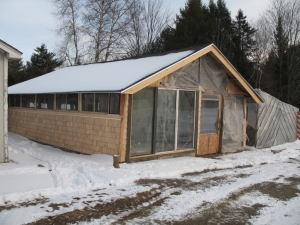
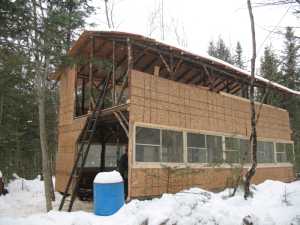
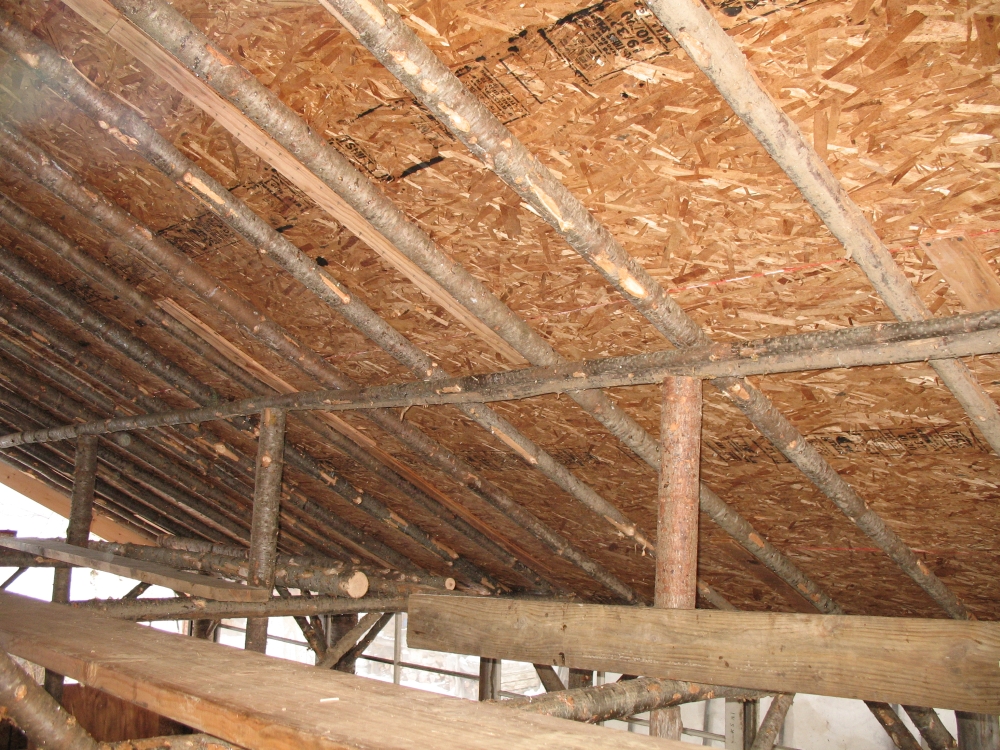
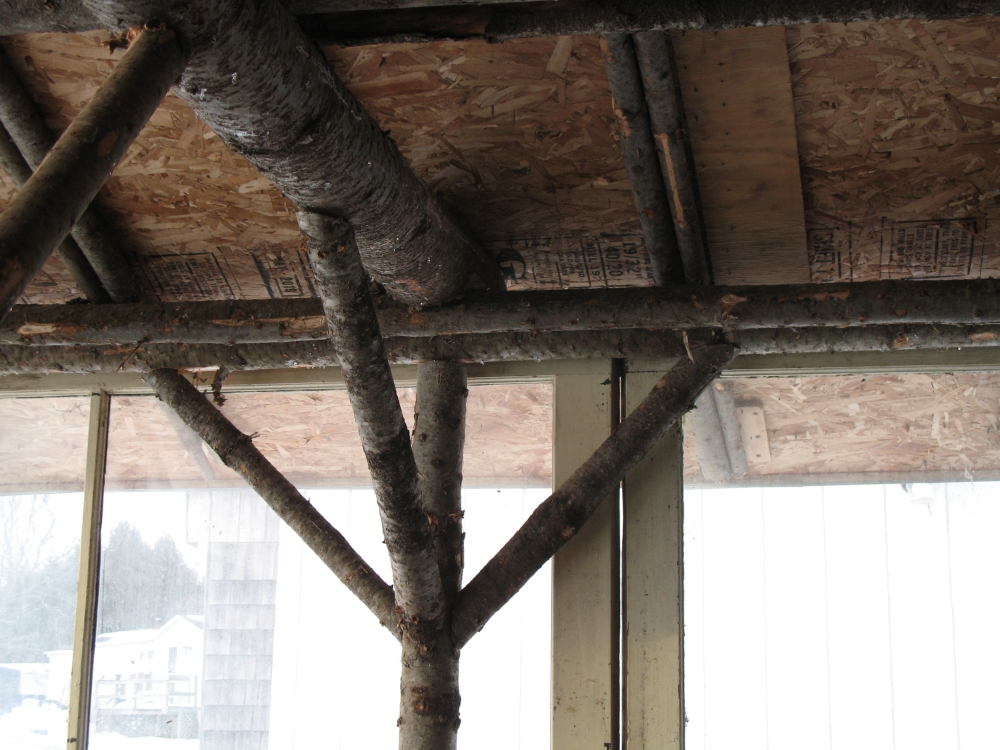
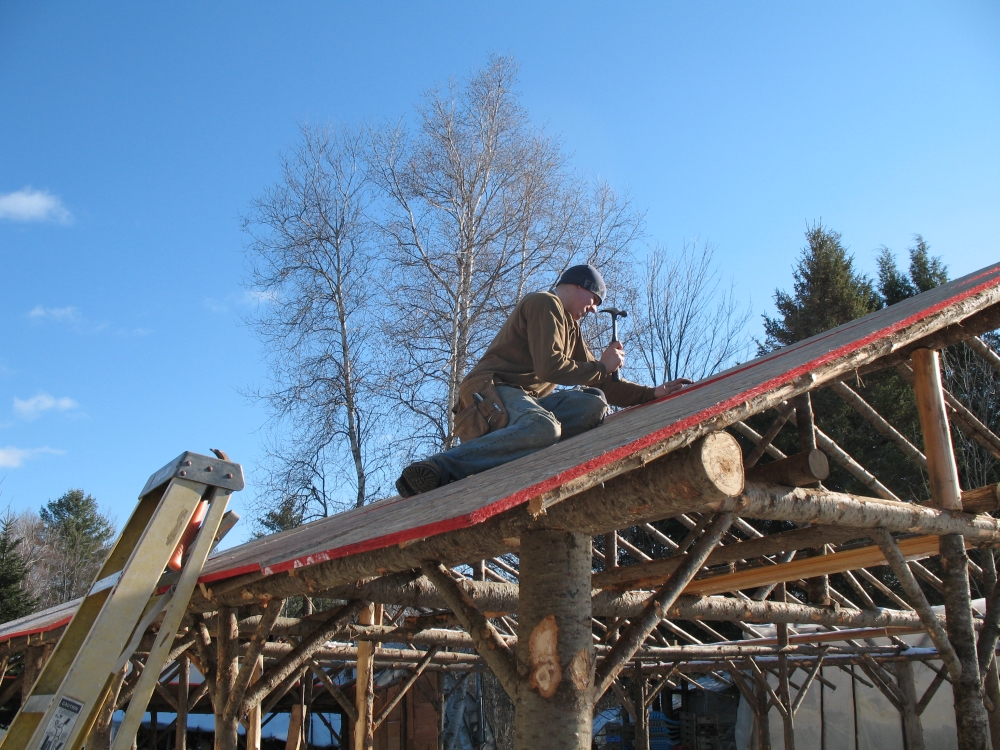
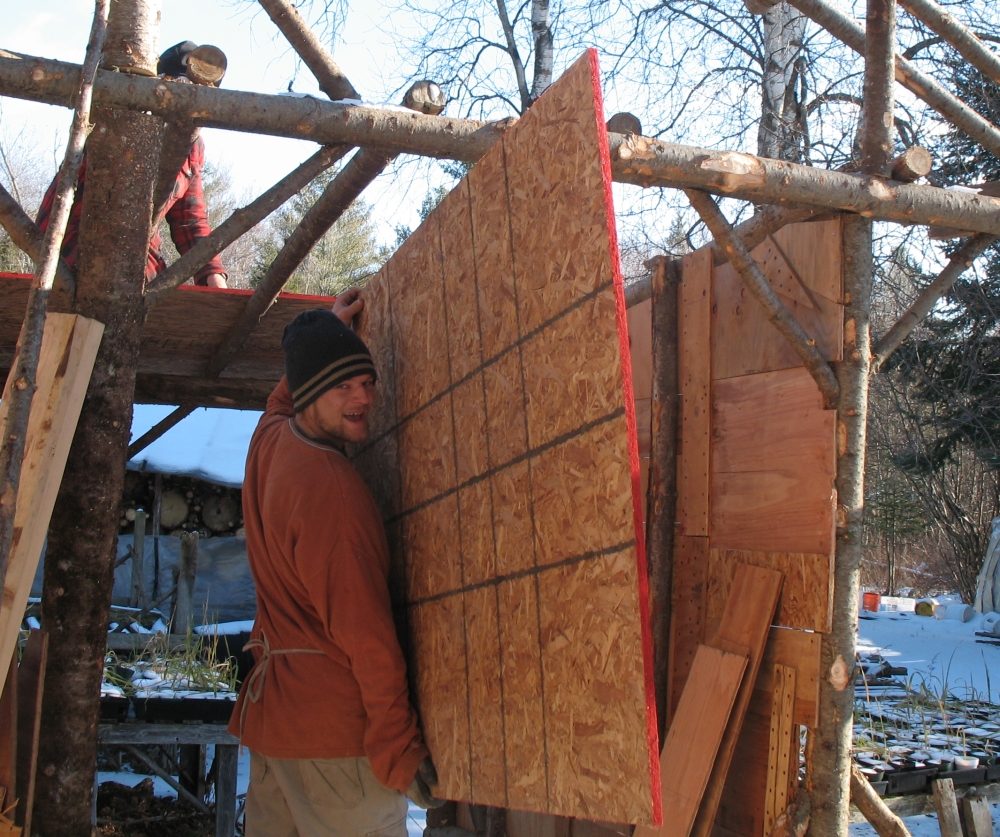
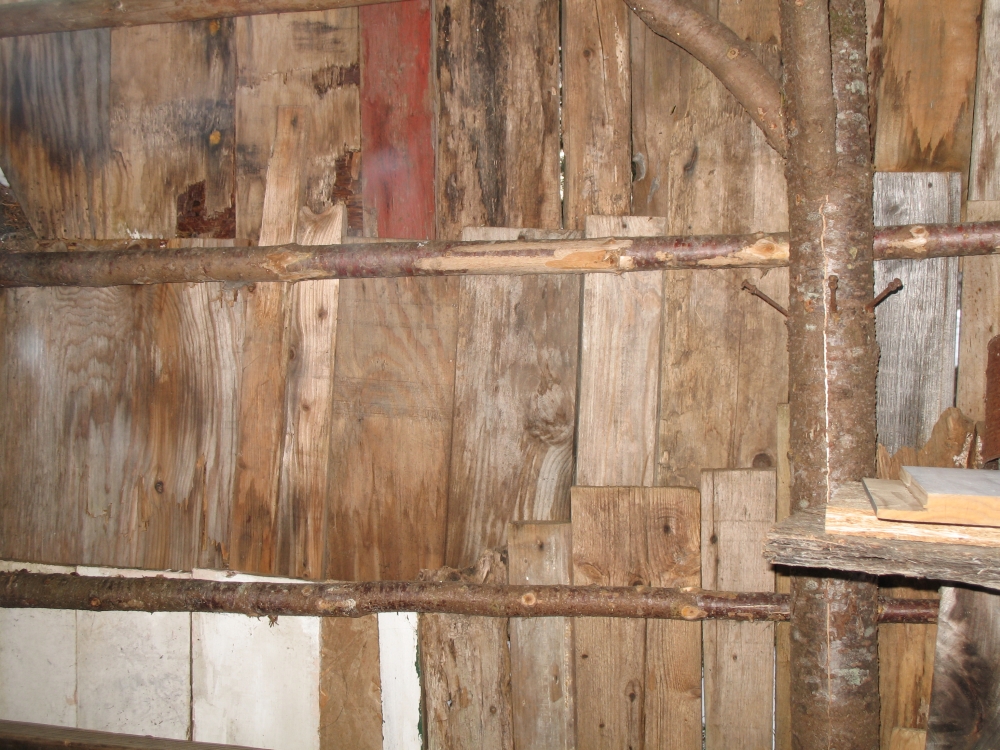
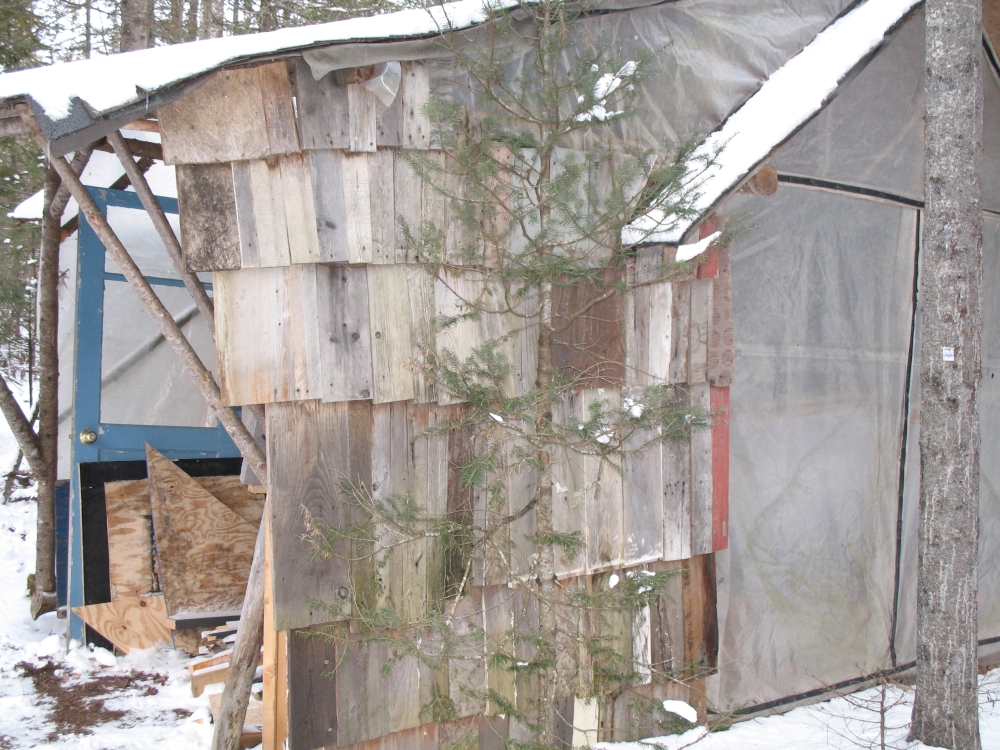
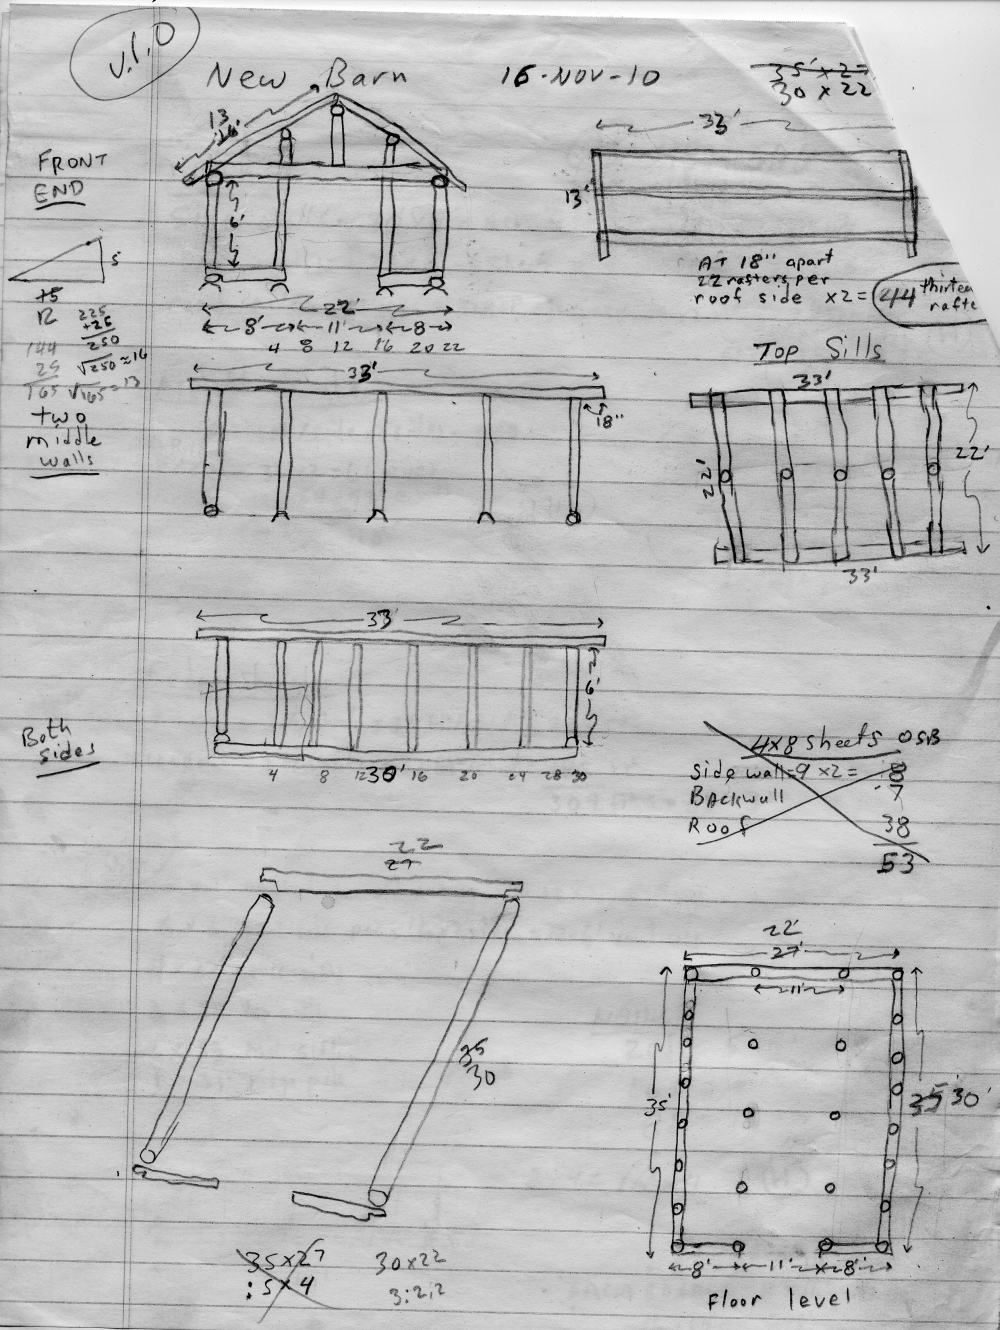
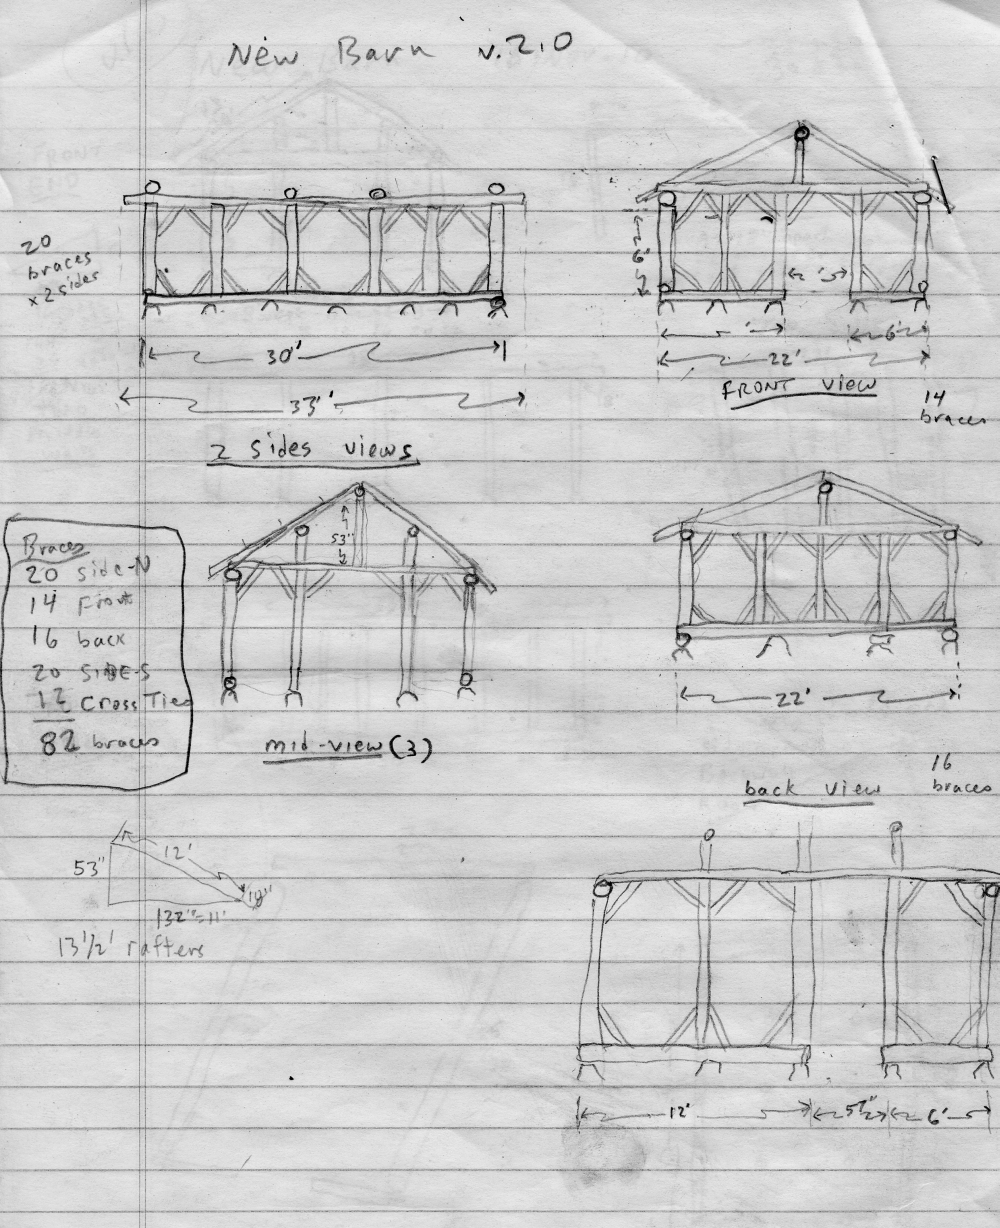
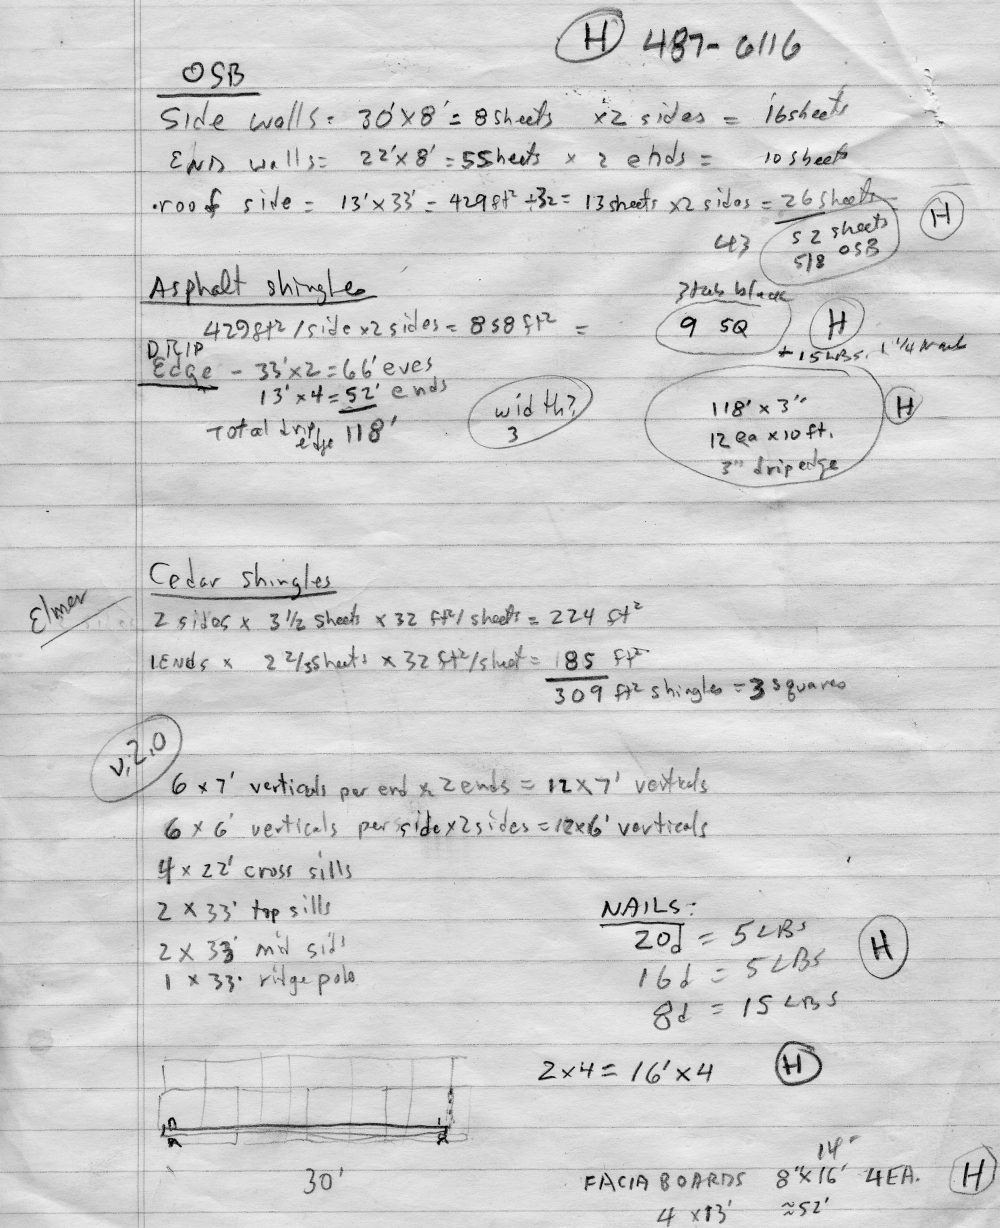
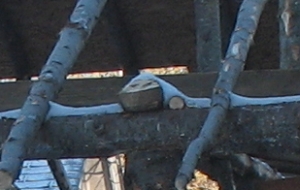
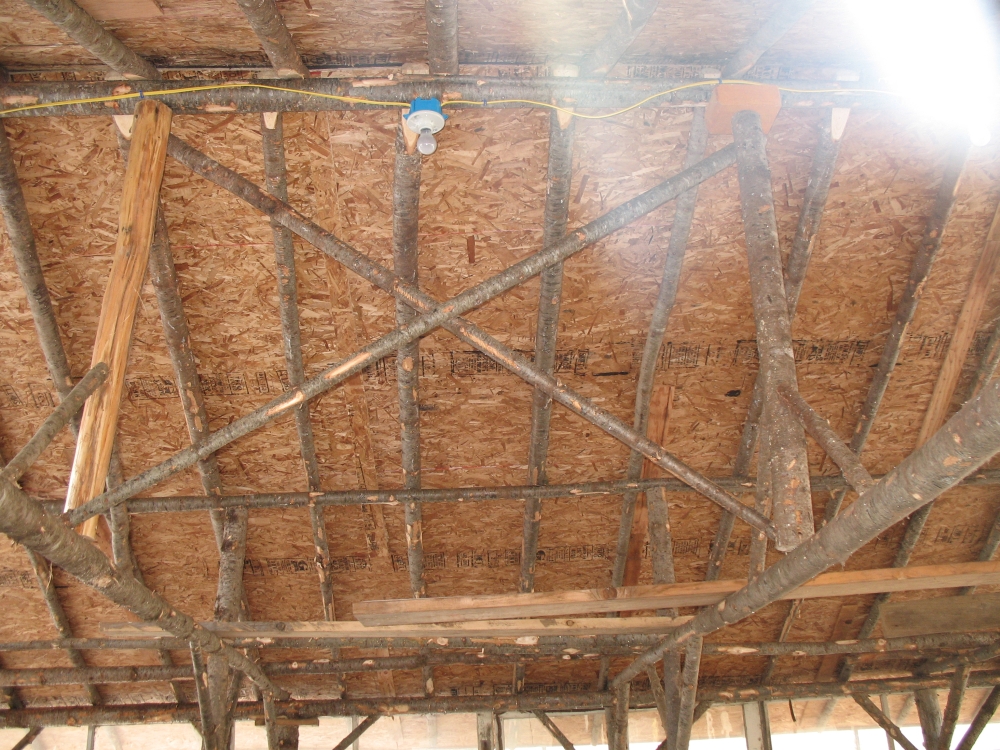
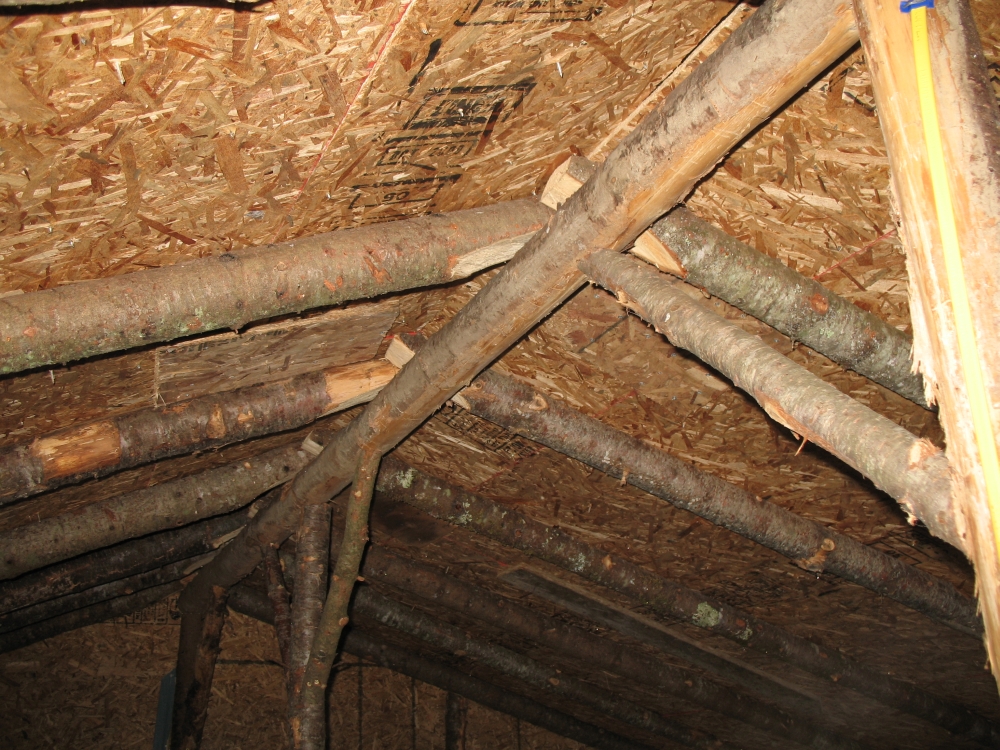
| FIRST PRINCIPLES ·•|•· TOOLS ·•|•· MATERIALS CONTRUCTION TECHNIQUES ·•|•· DOING IT INTRO. FIRST PRINCIPLES. • Keep your sills dry at all cost. Sills are the part of your building closest to the ground and thus are the most prone to rot from getting wet. • Leaving the bark on poles seems to make little difference, although it may begin to peel off some of them after a year or two. Great kindling! • Prep your poles in the woods. Leave all those loose tree tops and slash in the woods to rot down and help grow more trees. Spend a bit of time trimming the poles nicely by removing branch stubs before you bring them out. What you do in the woods you won’t have to do at the construction site. • Spend your money on a good roof. A leaky roof will rot your building and wet what’s inside. A good roof is probably the single most important part of your building. • Make sure your fasteners are of sufficiently large size to do the job. Building with poles requires larger and longer fasteners than when using dimension lumber. Don’t try to make a dozen small nails do the job of three or four big ones; they won’t. • Collect, collect, collect, then build. Whether you are gathering lumber from dump picking, old storm windows from yard sales, spruce poles from your woods, screws and nails from the local hardware store, or flat rocks to set your sills on, gather yourself a nice stash of materials before you begin. • Exactly Level and Plumb? Forget it! That’s dimension lumber talk. Eyeball everything, since irregularities in the poles will make doing anything else almost impossible. Make sure you eyeball from at least two different angles when possible before making things permanent. You can use a plumb bob (a nut on a string or a chalk line works well) if you can’t seem to get something vertical by eye. Getting verticals almost plumb is more important than getting horizontals level, since you don’t want your building to lean. • Terminology. To help with clarity, the following terms are used: Side Walls are your longest walls, and it is assumed your roof eaves will overhang these. End walls are your shortest walls, the tops of which are triangular as they extend up into the roof peak. Ridge pole is what the top of the roof rafters are connected to. The sills are horizontals that the other pieces of the structure are supported by. There are bottom sills set on rocks and top sills set on verticals. Verticals are the vertical poles that create the height of your walls. All of our farm buildings, woods roads, greenhouses and fields have names so we can more easily refer to them; these names are used throughout. TOOLS. All of these tools are things you should have on hand anyway, you’ll need them again and again, so they can’t strictly be added to the cost of your building project. • Chainsaw: A reliable one with a sharp chain. Small ones are nice for cutting the many braces you’ll need, but small ones may make more work for you when cutting your larger trees and your firewood. If you have one already, great, sharpen it and use it. • Machete: Less than $10 buys you a good machete which is an ideal tool for trimming small branches from trees to turn them into building poles. It is lighter than an ax and harder to miss your target with. Get one with an 18 inch blade, not a monster with a 24 inch blade. Choose one with a simple design, not one that’s got a fancy handle meant to impress; it’s the steel in the blade you want to pay for. Using a machete is almost as fast as a chainsaw, does a better job on the small stuff, is easier and cheaper to use and is a lot quieter. A machete is useful for smoothing out irregularities on your rafters before putting them up, and is good for cutting up kindling wood at the chopping block, too. • Hammer: A good 16 to 20 oz. framing hammer with a steel shank (not wood or Fiberglas). Estwing makes good ones for about $25; they are worth it. Get more than one if you’ll have a tool-less helper. Remember you are going to be driving a lot of nails from 16d to 60d in size. • Cordless Drill: Although 12 volt and 14 volt drills can be used, I prefer using my 18 volt drill. You will need at least two extra batteries if you don’t want to be forced to stop work for a battery recharge. Phillips head and torx or star-bit screws will be used, so make sure you have bits for each type. If you’ve ever tried to drive nails upward into top corner braces, you’ll be thrilled at how easy a cordless drill makes that work. • Magnet-on-a-stick: An optional but very handy tool for picking up those dropped nails, screws and drill bits at the construction site. • Gloves: You will definitely be glad to have a good pair of gloves when building with raw poles. Knitted ones with latex palms are very good for this kind of work. Dotted ones are OK, but will wear out faster. Leather gloves get wet and cold and they wear out too fast to justify their cost. Building with raw poles is hard on the hands and using green spruce poles will turn your hands black with sticky pitch in one day. • Tape measure and marker: A good 25 foot tape measure will allow you to accurately measure the length of your poles. A Sharpie marker works on poles that are dry and a nail or screw can mark a wet log well enough that you can see where to cut. When using a chainsaw, I usually put two marks about 3/8 inch apart to allow for the saw kerf. • Ladders: These are a wonderful invention that will make your life much easier. A good step ladder (two of different heights are even better) will come in most handy when you are frequently required to climb up onto your framing. Barn Two was built using one 14′ and one 17′ step ladder plus an aluminum extension ladder. The new Fiberglas step ladders are superior to the old wooden ones, and don’t suffer from being left out in the rain. MATERIALS. • Roofing materials: • Steel. We have had a steel roof installed on part of our house, and I have to admit that this is probably the best of all types of roofing to use. The advantage of longevity must be balanced against expense and trickiness to install on a roof with the irregularities of raw poles. Also purlins (strips nailed across all the rafters every 12 to 18 inches) must be used to keep the steel from bowing between the rafters. The steel is then screwed into these purlins using screws with neoprene washers attached. Dealers in steel roofing are common and colors and lengths are almost always custom ordered. Maybe on my next building… • Cedar Shingles. We use cedar shingles on most of our walls, but have not wanted to use them on a roof because they do not last as long as asphalt shingles, and cost more if you use the best grade. • Screws: Although three times the price of a similar sized nail, a screw can be used where a nail creates a problem, such as when fastening upper corner braces or connecting two poles that are not solidly braced. Most of my frame building is done with torx (also called “star bit”) screws, since the heads don’t strip out when driving deep into wood. I use 6″, 4″ and 3½” lengths for various purposes. They go for about $26 for a 5 lb. box. • Nails: The sizes I find most useful are 16d and 20d bright common nails for setting up verticals, fastening lower corner braces, and attaching rafters. These are very common and can be found at any hardware store. For the larger wood I use 50d or 60d ring shank nails, also called “pole barn” nails. These are a bit harder to locate, but can usually be special ordered by any store selling nails. • Poles: Spruce are the straightest and least prone to splitting. Fir is similar, but pine is weaker and extremely messy to work with when green. Cedar is nice to work with, but is weaker than spruce and it may be hard to find long ones that don’t taper too much. If cedar is scarce, use it where you are most likely to encounter moisture, such as sills and doorways. Once you have your poles collected, sort them according to use—big straight ones for bottom sills, medium sized long straight ones for top sills and ridge pole, short straight sections for verticals, irregular ones for bracing, long thin straight ones for rafters—then line up all the butts and cut them off square. Do not use hardwood poles as they do not take a nail or screw well even when green and have a greater tendency to split. Use them in your wood stove. • Cedar Shingles: Find a local independent shingle mill that’s making them. They can use the business, you’ll probably get a better product than from a lumber yard, and the miller will also want to buy cedar logs from you should you have any. Get the No. 2 or No. 3 grade. The miller will be glad to show you the difference in quality and price. Shingles come 4 bundles to a square and a square covers 100 square feet when putting them on 5 inches “to the weather”. • Shingle nails: 3d (=”three-penny”) galvanized box nails are what you want for cedar shingles. Even these will penetrate the 5/8 inch OSB wall sheathing. You may have to look around for them, but many hardware stores carry them. Don’t use sheet-rock nails, they will rust out in no time. • Old boards as shakes. Often you will have a collection of short boards one to two feet long that seem to have limited use. These can be put to use very handily as “shakes” and will look pretty good once installed. (See photo.) Almost any old board can be used, since it’s strength and soundness is not of particular importance for this use. All it has to do is hang there and keep the weather out. Pieces of plywood and OSB should probably be avoided, since they are not known for withstanding repeated wetting well. Sort or cut what you have into piles of the same length. To begin, at the bottom nail a long 2 inch diameter pole to the sill. Then for your first course of, say, your 18 inch pieces, you would nail a pole horizontally 16 inches above that first pole. Now nail your 18 inch boards to this pole. (See photo of inside view.) If your next pile of boards are 22 inches long, nail another pole 20 inches above that and nail those boards on, and so forth. Small irregularities in length can be accommodated by extending the extra length above the pole being nailed to in order to keep the bottoms even. There is no need to nail the bottom of the boards to the lower tier unless you need to so they will lay flat. Use the thinnest nails you have or even screws to keep the horizontal pole from shaking too much as you nail. • OSB: or “Oriented Strand Board” is a manufactured wood product that comes in 4’x8′ sheets (See photo), is used like plywood, but is a little cheaper. It is available at most lumber yards and the 5/8″ thickness cost about $10 a sheet. It will last uncovered for about a year, but will then begin to deteriorate, so it needs to be covered from the weather fairly soon after is is applied. When working with poles it is very hard to get them all to line up perfectly, so the large 4’x8′ sheets go on much more easily than would boards. Use 8d nails to attach them. Also, don’t even try to get the edges to line up on a rafter. It is easier to scab the edges of two sheets together with scrap pieces and short drywall screws when the edges don’t meet on a rafter. And don’t forget to stagger your courses. CONSTRUCTION TECHNIQUES. • Drawings: Start by making detailed frame sketches of the view from every side, as well as top views at every level, and label each view. Do this in pencil and include all the dimensions. Be accurate and draw fairly close to scale, but there’s no need to be artsy or draftsman like. Don’t forget to draw in the corner braces. If the building is 20 feet long with 6 feet high walls, your drawings should make it seem that the length is a little more than three times the height. For Barn Two, I used one letter size sheet to make all seven of my drawings. Shortly after construction began, I re-did all the drawings on another page that I called Barn v2.0. This set of drawings was more accurate than the first and incorporated several design changes and improvements I thought of while actually working at the construction site. • Materials List: From your sketches, make several materials lists of what will be needed to construct the building, making separate lists for what you’ll need to buy, what you have on hand, and what you can harvest yourself in your woods. • Estimating the required heights for verticals. In your sketches, remember that the sills will be set on rocks or blocks and thus be six to eight inches off the ground. Then consider the thickness of your sill. The top of your sill is probably now 12 to 14 inches above ground level. Your verticals may be set in a half inch deep notch in the sill (to reduce the roundness of the sill). If this is a side sill and your door will be in the end of the building, then there will be a top side sill setting on your verticals, and a top end sill at the building ends will set atop those top side sills. Therefore your verticals don’t have to be much more than 5 feet long to create a six to six and a half foot head clearance at the end. Refer to your sketch and remember that an eraser is easier to use than a nail-puller. • Braces: Braces are 2 to 2½ foot long pieces that are from 2 to 3 inches in diameter cut at a 45° angle at both ends with your chainsaw. To fasten the bottom braces on each end I use one 20d nail in the center and one 16d nail on each side of the 20d nail. For the top braces I use one 4 inch screw and two 3½ inch screws on each end. Drive either nails or screws perpendicular to the piece the brace is being attached to, not perpendicular to the brace itself—they are much stronger that way. Since you are cutting braces freehand with a chainsaw, you may find that you’ve sometimes got the 45° angle wrong. Just set those aside to be re-cut. • Sill Supports:Use big rocks or concrete blocks to keep your sills off the ground. If your ground is uneven, you can vary the size of the rocks from one end of the building to the other, maintaining a minimum of 8 inches height. Remember, however, that the sills don’t have to be perfectly level. • Sill Work: Flattening both large poles where they come together at the corners increases overall building stability and allows greater effectiveness of fasteners. Flattening large horizontal poles where verticals are located also makes them more stable as well as easier to nail in place. For the corners, where you have two large sill poles one laying on the other, and a vertical, be sure to flatten both sides of the top pole before you nail it in place or you will spend more time sharpening your saw. • Roof Overhangs: For the general protection of the building, the roof wants to overhang 18 inches on the ends and 18 inches at the eaves. This keeps the walls drier and generally keeps water away from the whole building. This has implications for rafter length (they need to be 18 inches longer than the distance from center of the ridge pole to outer edge of the top sill), and for the number of rafters needed (an extra two rafters for each side of the roof), and for top sills and ridge pole lengths (all three are three feet longer than the bottom sills). • Roof Angle: Here is where your roughly-to-scale sketches come in handy. Once your building width is determined, the angle of the roof becomes dependent upon how high the ridge pole is above your top sills. Make a few alternate sketches and decide what roof pitch you want. Too flat is prone to leaking and too steep is hard to work on but will give you more headroom “upstairs”. Barn Two is 22 feet wide, putting the ridge pole at 11 feet horizontally from the top sills. I decided to put the ridge pole 53 inches above the top sills, which required a 11 foot 10 inch rafter. Remembering that I wanted an 18 inch roof overhang on the sides, my rafters needed to be 13½ feet long, and further remembering the irregularity of poles, I cut all my rafters poles to 14 feet. After they were all nailed in place, I used a chainsaw to trim them all to an 18 inch overhang. • Rafters: Select your best straightest poles for your rafters. The diameter pole you want is dependent upon the length you intend to span; on Barn Two we used poles 3-4″ at the butt and the maximum span is six feet. If you have some rafters that are fatter than others, use the fat ones on one side and the thinner ones on the other side. This way the uniformity on each side will make roofing go a lot easier than if you alternate thick and thin poles on one side. Spacing them about 15-18 inches apart gives a good strong roof. • Mid-rafter supports: The advantage of using large poles for rafters is that they have the strength to span a long distance. The disadvantage is that they are heavy and harder to work with, especially hoisting them to the top of your building. When thinning a spruce stand you may generate many poles from smaller trees that are long and straight and ideal for rafters. To enable these to span a greater distance, use a mid-rafter support system. (See photo.) This is similar to the ridge pole, except that is supporting the rafters between the ridge pole and the top sills. • Making one long pole from two shorter ones: On long buildings often you can’t find any poles long and thin enough to use for tops sills and a ridgepole. Those long enough may be too fat and heavy at the butt end to lift into the air. What do you do? Use two shorter poles, each about two-thirds of the length needed. Place them next to each other with butts at opposite ends and the tops overlapping by at least half their length. Rotate one or both to get the best pole-to-pole fit. Now screw them together every foot or so using the largest screws possible at each spot without going all the way through both poles. Do this on the ground or other flat surface. Remember to use fairly fat verticals where these are supported in the center so both poles will rest on the vertical. I’ve done this for ridgepoles and tops sills with excellent results. This technique also means on your overhangs you will have the stronger butt ends sticking out on both sides. The same technique can also be used for a bottom sill, but it is better to use a single large pole for a bottom sill and not so difficult to get a large pole into position. • Helper or no helper? The vast majority of this work—except on fairly large structures using large poles—can be easily done by one person. Nevertheless having even an occasional helper for certain tasks speeds work considerably. This is especially true when putting up the tops sills and the ridge pole. If you are alone in setting up your top sills and ridge pole, here is a workable though a bit tricky method I have used. On the top of one of the end verticals drive two 20d nails into the top edges about 1½ inches deep. They should look a bit like a rabbit ear antenna. Now lift the smaller end of the pole onto this vertical and it should not be able to slide off. Then lift the other end onto the opposite vertical and, if all is positioned correctly, nail it in place. Next, nail it into your middle vertical. Finally go back to the rabbit ears vertical and nail that one. Lastly, remove the 20d rabbit ear nails. When your helper does come back, ask if they know how you got that pole in place by yourself! DOING IT. A step-by-step description of putting together a pole frame building. This assumes that you’ve cut, trimmed, hauled to the construction site, sorted and counted the poles you intend to use and have gathered the other materials needed. Also assumed here is that you are making an enclosed structure rather than an open woodshed, but differences for an open sided building are frequently noted. • Smooth and clear your building site. Rake up the leaves, cut the grass, pull or cut out brush, level the ground a bit and generally make your work area as pleasant as possible to walk around in. You’ll be spending a lot of time there and it’s easier to do this now than when a building is there. • Place your blocks and flat rocks. You’ll eventually want to support your bottom sills every five feet or so, but at first just set the corner rocks and one at the center of each long side (to prevent sagging). To get the corners positioned right, measure both diagonals—they must be the same if your building is to be either rectangular or square. After you have your sills nailed together, if the rest of the rock supports don’t exactly come up to your sills at every spot, you can shim them. Use thin flat stones or scrap boards or 2×4’s for shims. Finish adding your support rocks before erecting your verticals. Don’t allow any of your rocks to stick out beyond the sills on the outside, since this will interfere with running your siding down over your sills. Old stone walls are a good place to find sill rocks and town dumps often yield concrete blocks (broken halves are OK). Also remember that if your soil is not very firm then the weight of your building will push these sill supports into the ground by a few inches. So make sure they keep the sill at least 8 inches off the ground when you start. After the first winter, check to see if your sills need further shimming due to settling of sill supports. • Lay your sills. Set your two longest sides out first, supporting them at first on their ends only (so they won’t roll). Rotate them so that any sway along their length is up-and-down rather then side-to-side. Of course you’ve selected the straightest logs for this and the biggest ones that you can wrestle into position. Once in the correct position, use your chainsaw to flatten off the tops of the ends going back enough to accommodate your end sills, which will go on top of the side sills. Lay your top sill in place, then flatten off both the top and bottom of both ends. This flattening off of the sill ends will remove from a half inch to two inches of wood, depending upon the diameter of the sills. Position your end sill, but before you nail it check to see if the top flattened area is level enough to accept a vertical pole without it tilting too much. • Don’t forget your doorway. Unless you want to be forever stepping over your sill to get into the building, you’ll have to compromise the structure a bit by splitting one of your bottom sills into two pieces, preferably one of the shorter end sills. It is best to do this not at the center (where you’ll want the ridge pole support to be) but offset to one side. Make your doorway wide enough to easily accommodate someone carrying an armload of firewood, or wide enough for your cart, depending on how you intend to use the building. If you plan on adding a door to the doorway, then figure the door framing itself will narrow the opening by four to six inches. • Place the corner and center verticals. Begin at the corners, then place a single vertical midway between the corners. If more verticals are required—there should be one every 4 or 5 feet— they can go on after the top sill is in place. This avoids putting up and taking down the top sill because you found that vertical number four was an inch too tall. It is much easier fitting in verticals that go between the corner and the midpoint if the top sill is already nailed in place. Even if verticals are cut to exactly the same length, the irregularities in the bottom and tops sills will cause the tops of the verticals to be at different heights. Since your corner verticals sit on top of the end sills (that’s why we flattened those ends, remember?) then you must deduct the height of the end sill from the length you cut your corner verticals. Of course all four corners will probably have different measurements. • Brace as you go. The real strength in these structures comes from the bracing used at every corner. Simply toe-nailing the verticals into the sills leaves them pretty wobbly. Once braced, even if it’s just in one plane along the sill, they are considerably stabilized. And bracing at the corner verticals makes them incredibly strong. It can be a pain stopping to cut up your cull poles into two foot braces, but using your sketch to count how many you’ll need encourages you to cut a dozen or more ahead of when you’ll actually need them. • Placing the top side sills. All work with top sills goes much easier with two or three people. The top sills should be longer than the bottom sills to account for roof overhang at the building ends. It is often helpful to flatten the bottom of each top sill where it will be sitting on a corner vertical. To do this, mark where the flattening needs to be done by lifting the top sill onto the corner verticals and setting it in place. Since you already have the center vertical also in place, the sill should not sag. Then mark on the top sill where both sides of each corner vertical touch it, then take the top sill down and flatten as needed. Place the tops sill back in place and fasten it in place with three or four 6 inch nails or screws driven through the top sill into the vertical from above. Repeat for the other side. Your top sills are now in place, but all that’s keeping everything from falling over are the braces from the corner verticals to the bottom sills. • Placing the top end sills. The top sills for the short side get placed on top of the sills for the long side. Since they will have no overhang, flatten one side of both ends, then cut off the triangular sections from the top of these sills that would otherwise stick up above your rafters. (See photo) Do this before you nail your top end sills in place! After you have nailed down both ends, your structure is now much less wobbly. Before you go any further apply braces everywhere two poles come together at right angles (except perhaps in your doorway). Climbing onto your structure and trying to get it to sway in every direction is a good way to determine if you’ve got enough bracing. • Apply cross pieces. Weight on the roof (such as asphalt shingles and snow loads) will cause the rafters to put outward pressure on your side walls. Therefore it is wise to put additional cross pieces connecting your top side sills, just like your top end sills do, in one or more positions along the side walls to keep them from being pushed apart. Don’t forget to lop off the top corners so they won’t stick up above the rafters. (See photo.) Place these on top of the side top sill and directly over a side wall vertical if you can, allowing you to add another brace. • Ridge pole verticals. Here is where you make your final decision about the slope of your roof and the length of your rafters. The ridge pole verticals are what holds the ridge pole up, and one should be placed on each top end sill and on any cross pieces you have installed. When calculating the desired height of the top of your ridgepole, don’t forget to subtract the thickness of your ridge pole from the height of your ridge pole verticals. The ridge pole verticals can be braced to the top sills (or cross pieces) for sturdiness for when you attach the ridge pole, but once the rafters are in place, this bracing becomes redundant. A different sort of bracing can be done by using long thin poles to make an “X” between your ridge pole verticals (see photo). This strengthens the ridgepole from falling in the direction of your end walls. MORE COMING SOON… • Ridge Pole. The ridgepole is often centered between your side walls (the “Cape Cod design”), but can be just as easily offset to one side (“Salt-Box design”). The offset design offers the advantages that the short side will be steeper thus will shed snow better and allows that half of your rafters to be shorter. In either design, the ridge pole needs to be longer than your top sills to allow for roof overhang at both ends. • Rafters. Having selected similarly sized poles long enough to be rafters, you now trim the butts and then cut them to a little longer than the length needed for your building. Flatten one side of the butt end of each rafter where it will be attached to the ridgepole. Take more off the fat butts and less of the thin ones, in an attempt to even out irregularities in thickness from rafter to rafter. When deciding just where to flatten the butt, support the rafter on the ground in two places roughly where it will be supported when in place. Now rotate the rafter so that the most even side will be up. The section you want to flatten will now be on the bottom, so rotate the rafter and cut off a slice of appropriate thickness. Do this with all the rafters and stick them up into the top sill area where each one can be nailed to the ridgepole and a top sill. • OSB on the roof. • Shingling the roof. • Siding. If you are using siding, then before the siding goes on you might consider assuring your sills stay dry by using a protective piece of plastic stapled to the outside of your bottom sills and extending down onto the ground about a foot. The plastic on the ground can be covered with soil or gravel. This provides a barrier to blowing snow and rain from entering underneath your building. Of course if you are building a woodshed, you may rather have that ventilation. In fact, many of my woodsheds have no siding at all, and the building frame and firewood are kept (mostly) dry by the roof overhang. • Windows. • Door. |
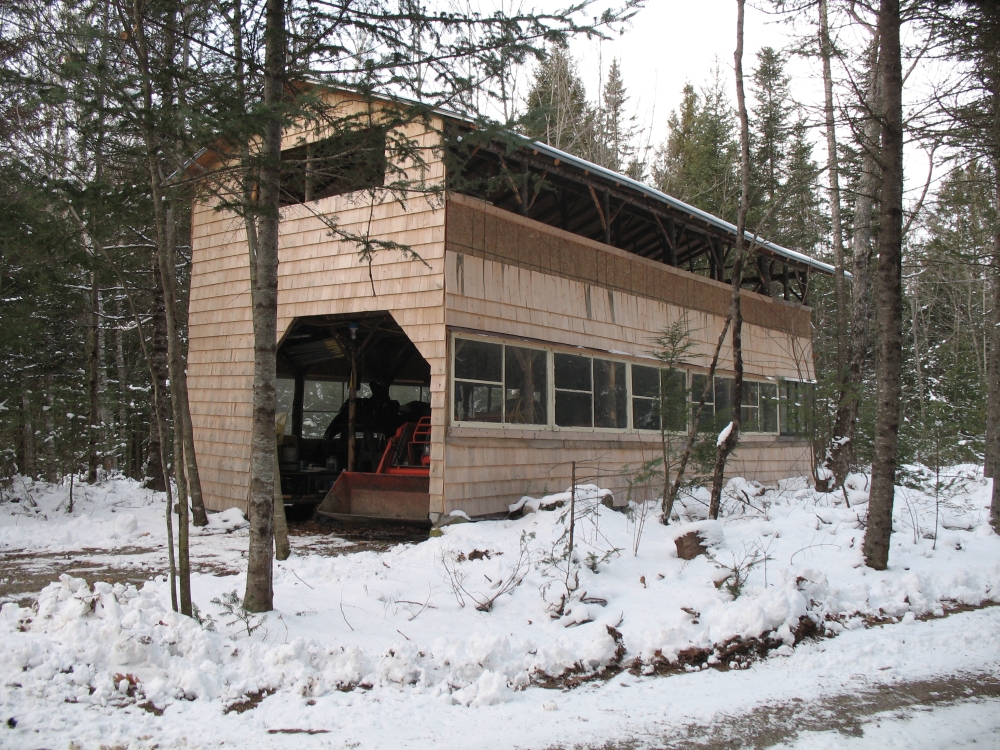
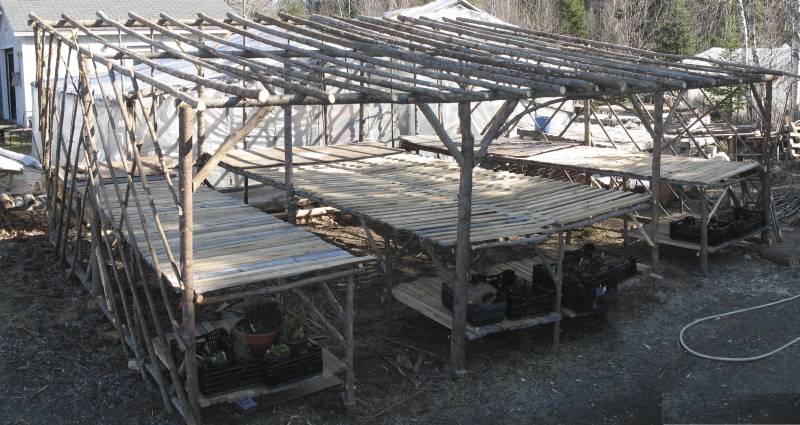
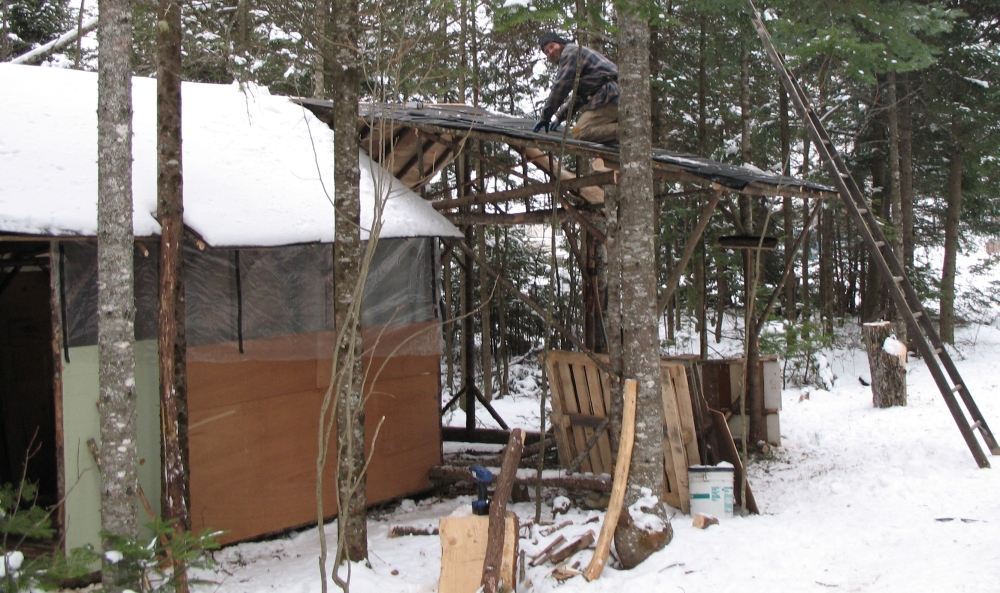
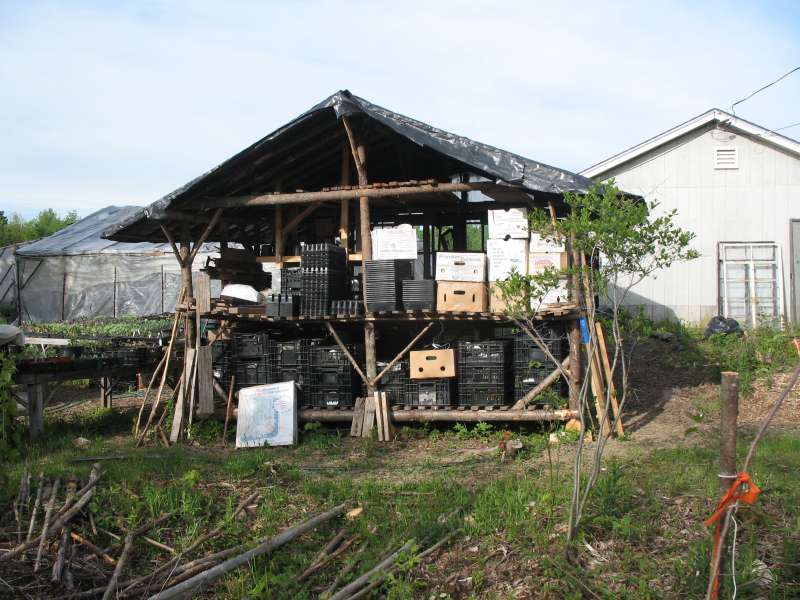
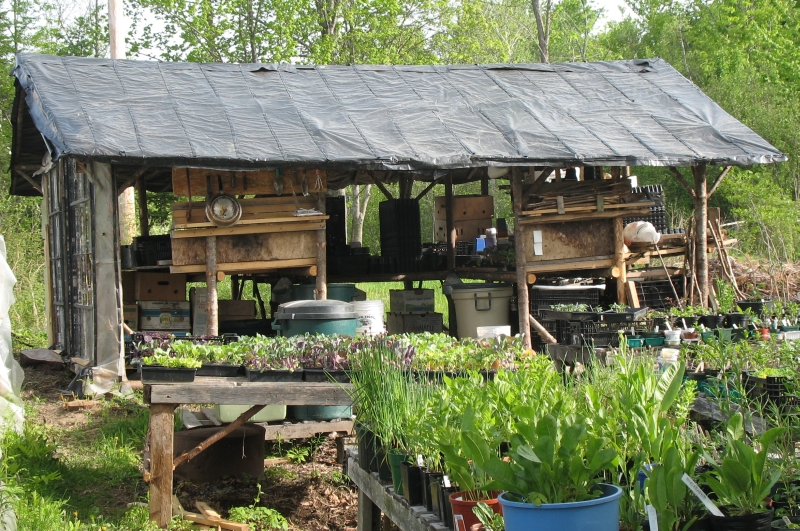
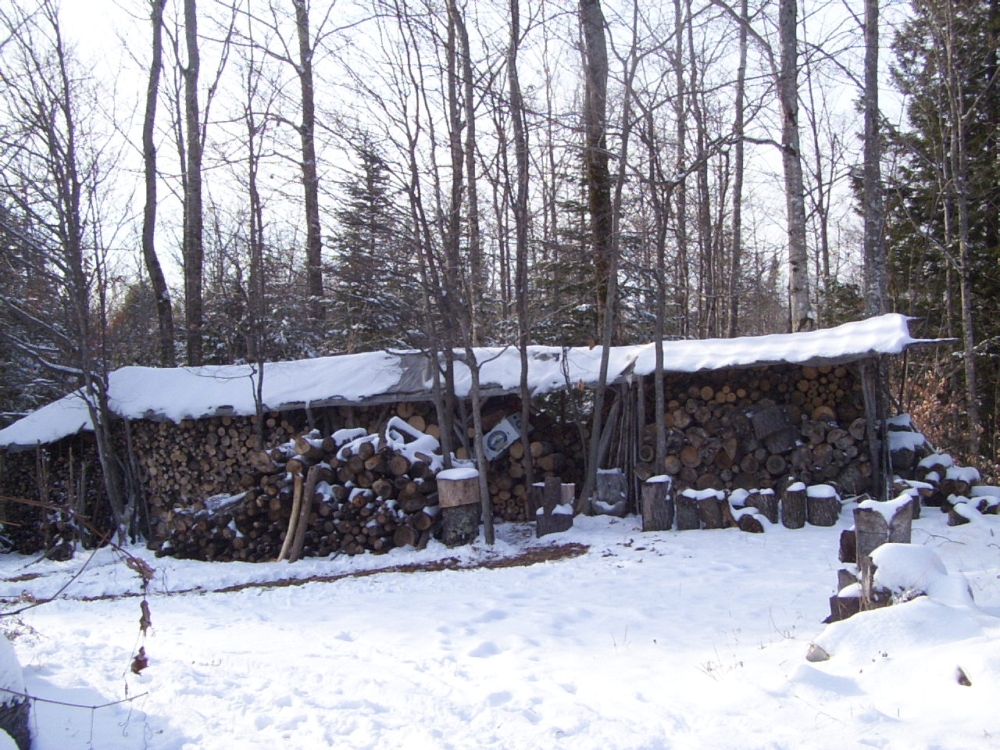
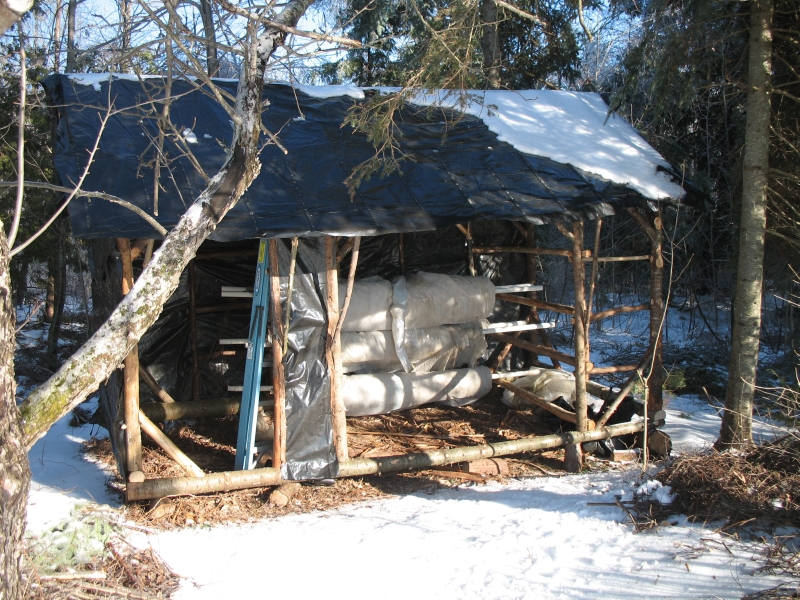
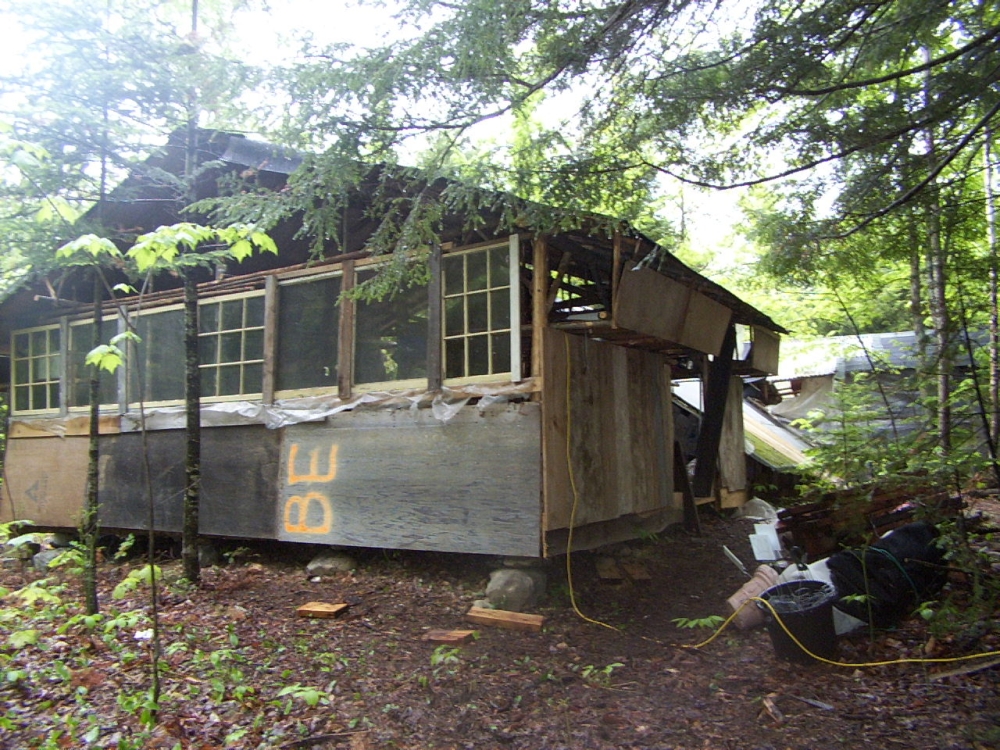
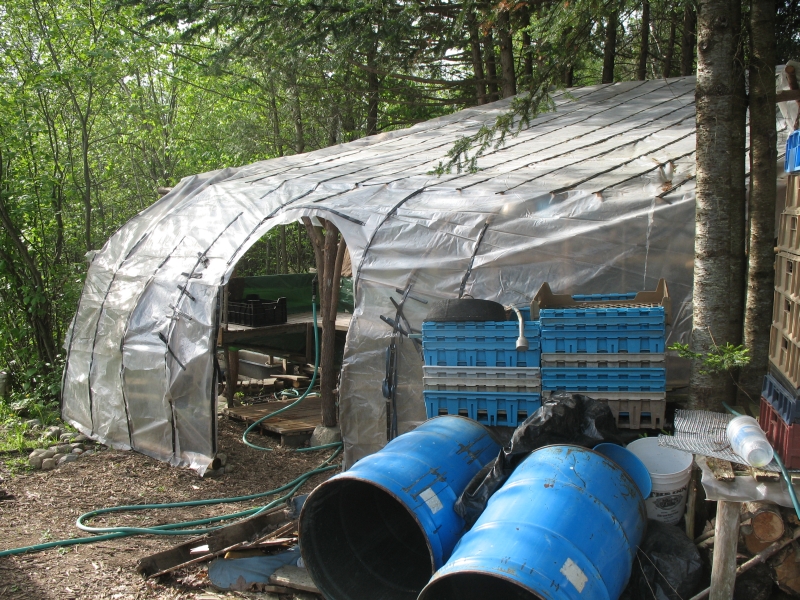
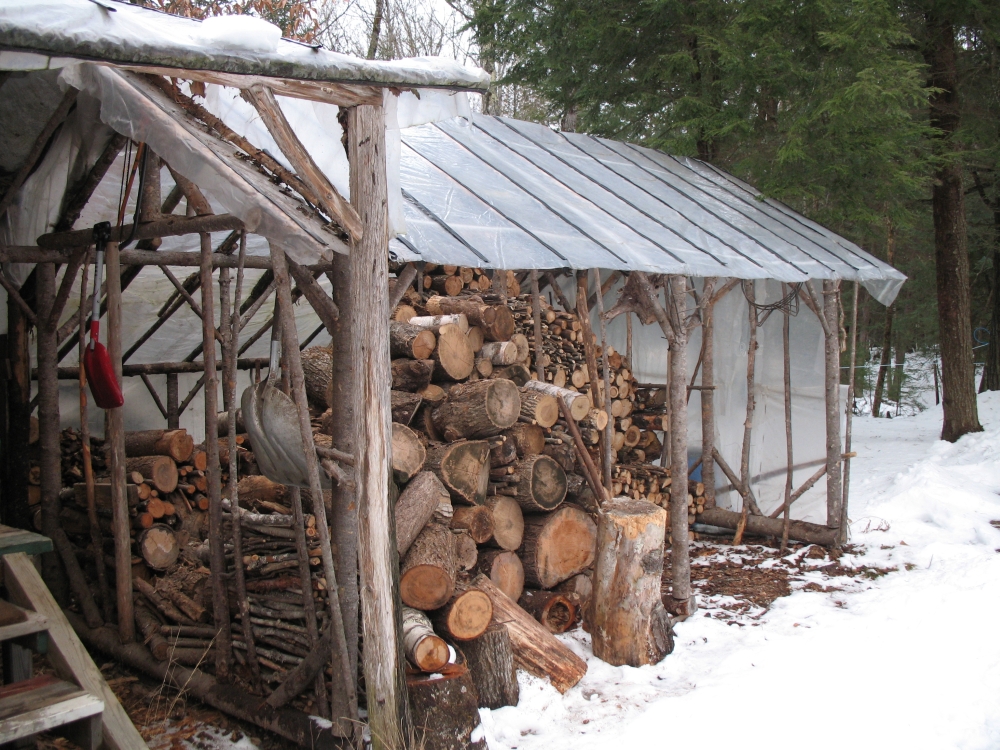
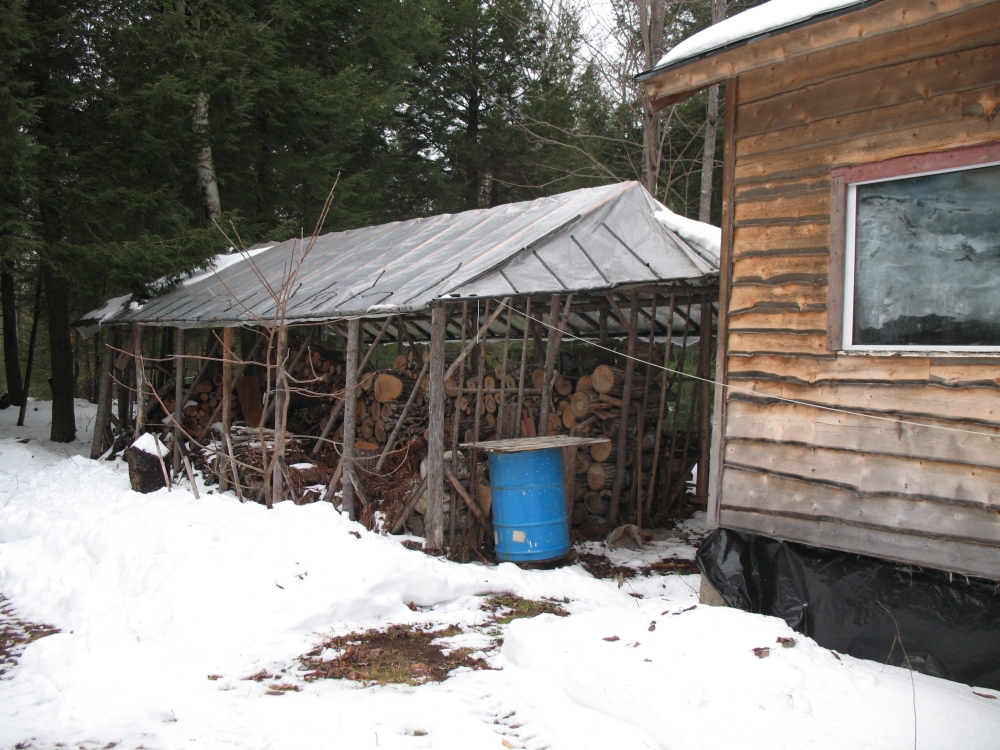
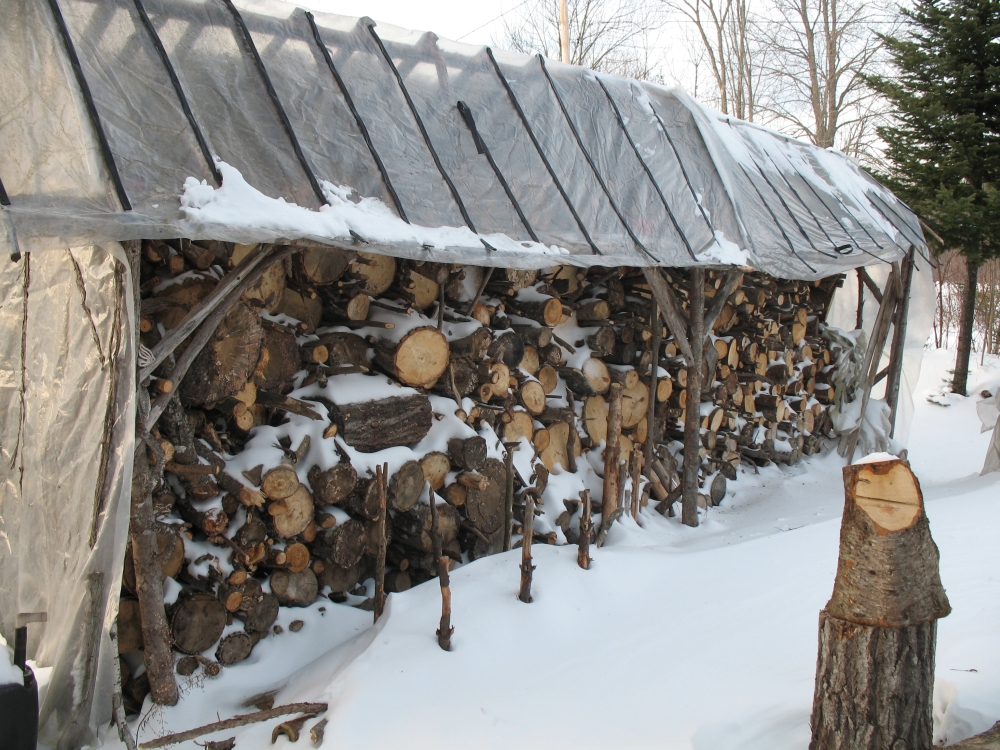
Below are examples of
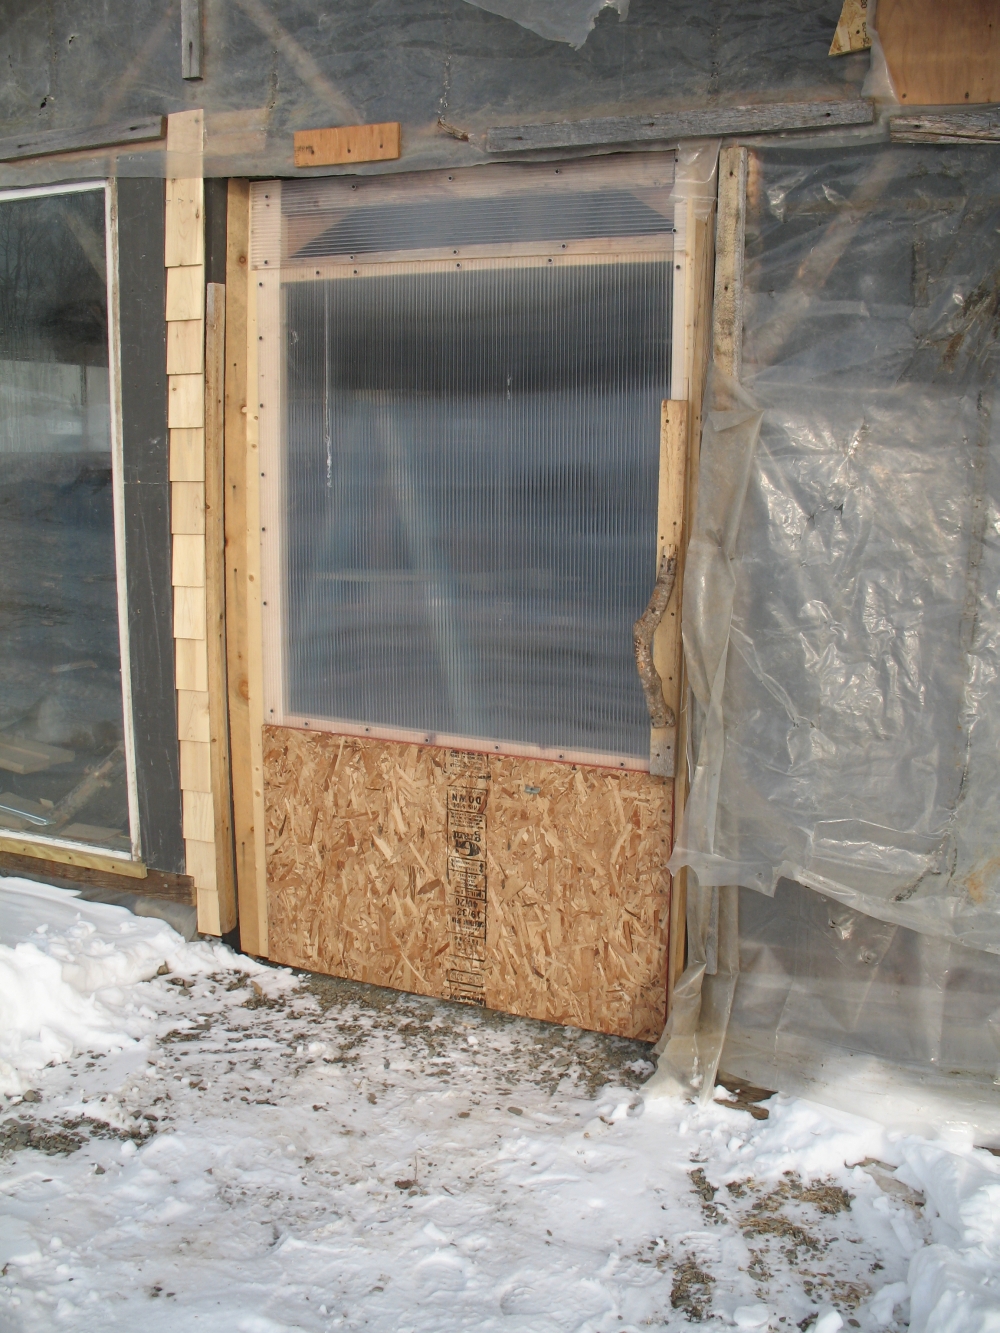
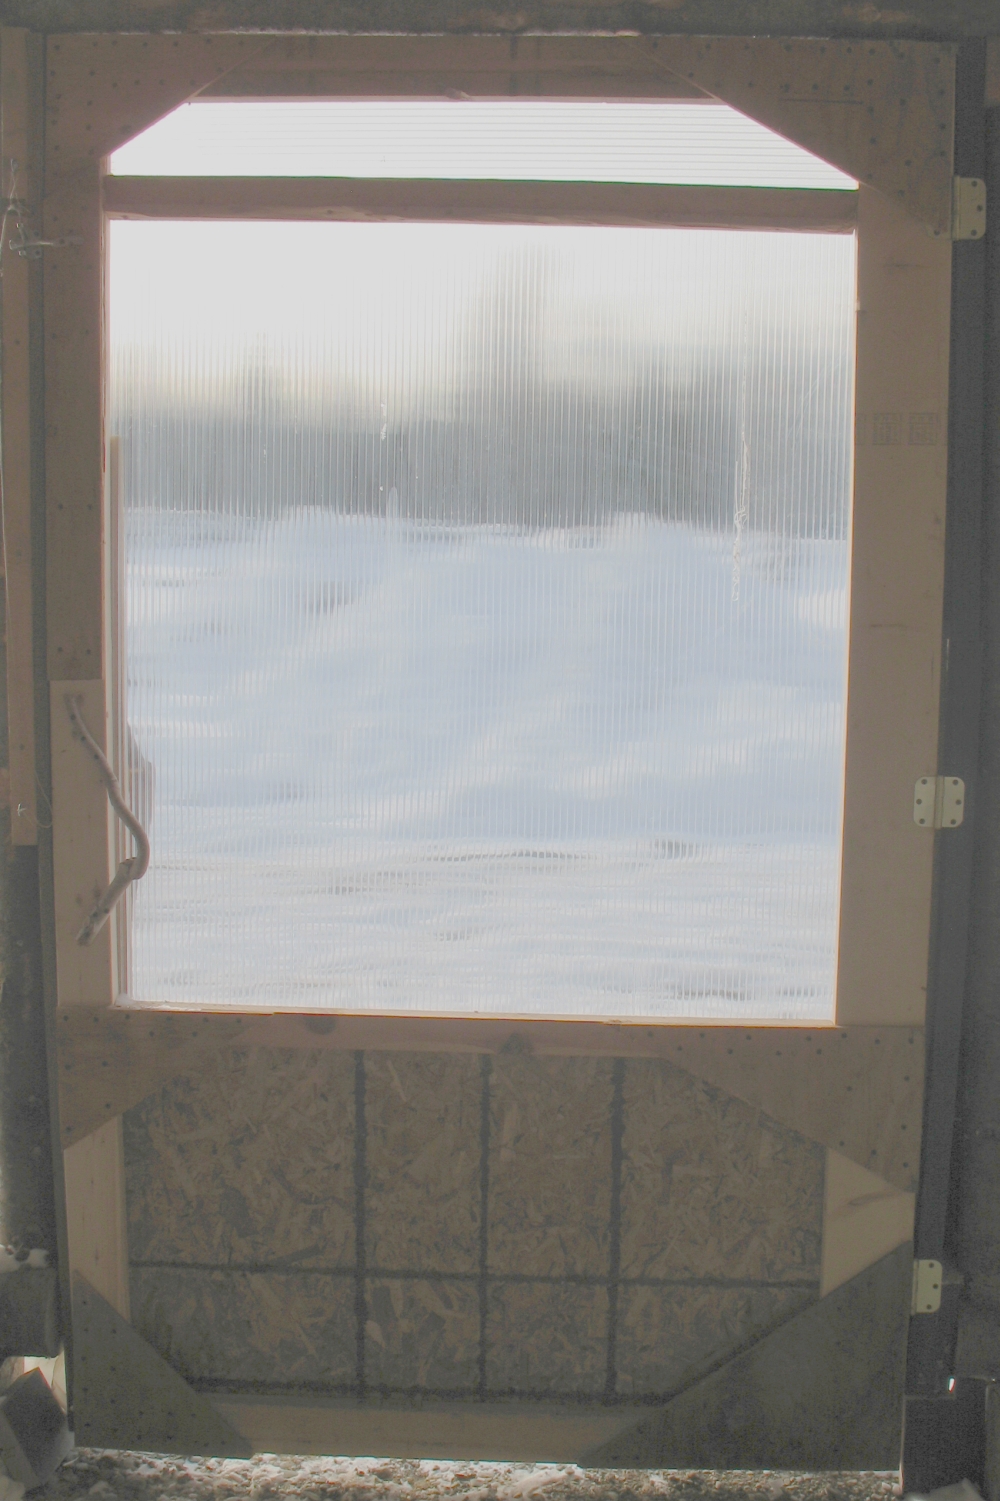
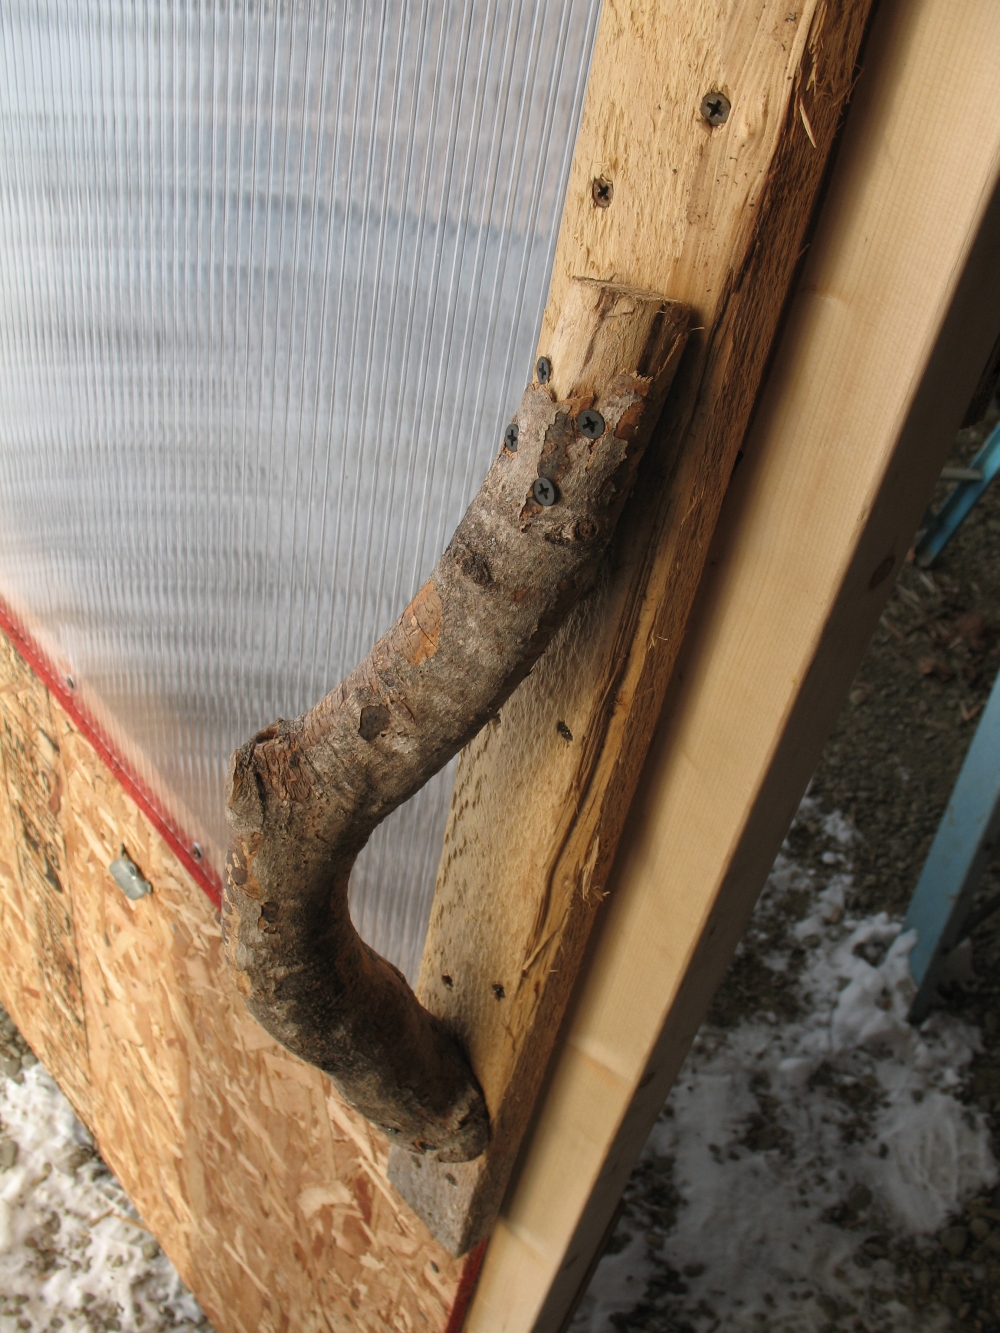
Below are photos illustrating various construction techniques described in the text. Hover over pics to get fuller explanations. |
