|
|
||
 |
The story of
|
 |
|
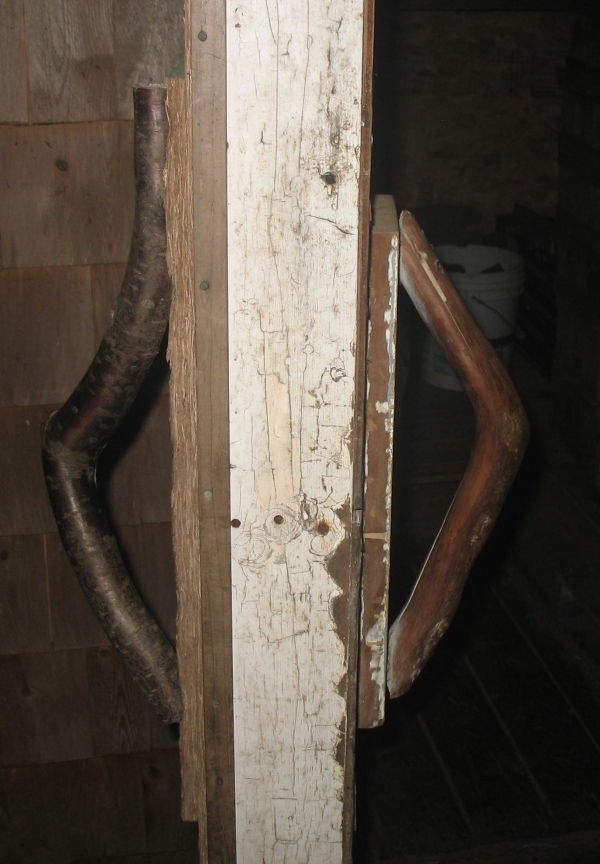
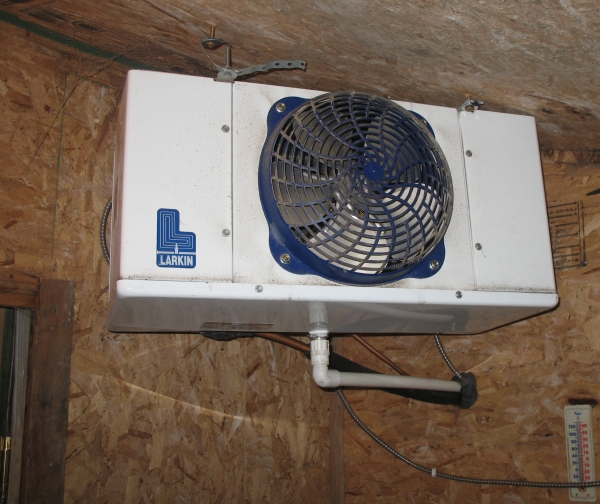
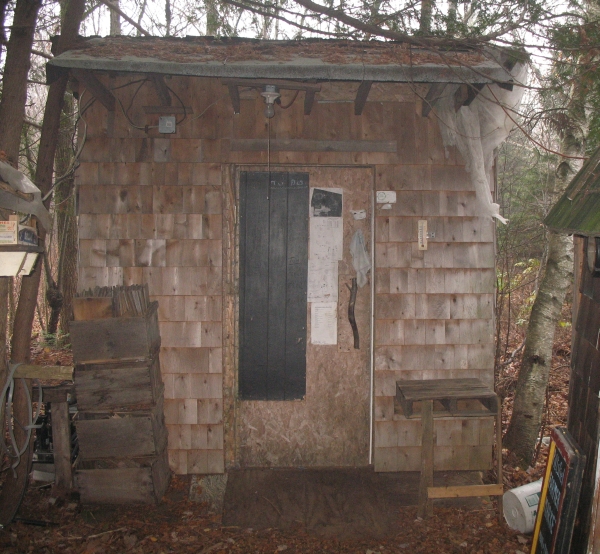
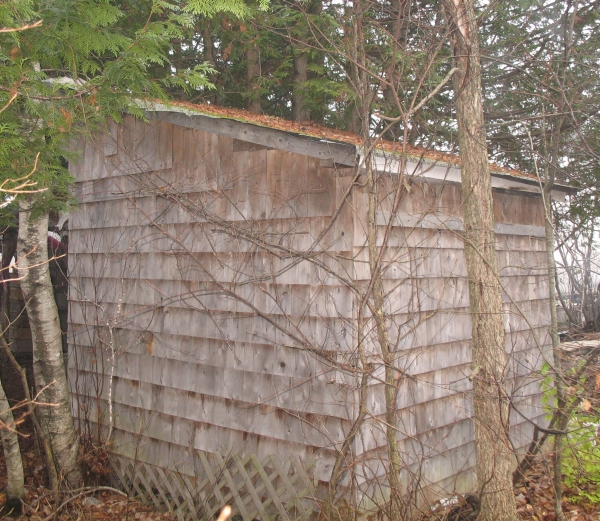
Click on photos to enlarge. A little over a decade ago we were faced each fall with the question of “how to store it all”, and this led us to consider building a root cellar. The trouble was, not only would the excavation have been a big deal, but, due to our location, the only place that would remain dry enough wouldn’t be especially convenient for access, either during the winter or during the summer months when we wanted it for short term storage of cukes, lettuce, etc. What we came up with was a well-insulated box, 8’x8’x8′ with a slightly sloped asphalt-shingled roof. On the walls we used 2″x4″ studs with OSB (Oriented Strand Board, or “chip board” in common parlance) on both sides, with a layer of plastic on the inside between the studs and the OSB. This is to keep moisture from migrating into the walls. The walls are each insulated differently: one with regular 3½” fiberglass, one with cedar sawdust mixed with quicklime (to deter insects), one with Styrofoam peanuts, and one with used Remay. The peanuts and sawdust we poured in from the top before the roof went on. The floor deck is made of pressure treated 2×6’s with a layer of plastic on top and 6″ of fiberglass in between the joists. The whole thing is supported on several large rocks to keep it off the ground. The flat sloped ceiling/roof is constructed with 2″x4″ rafters with 3½” fiberglass between. Then, believing that more insulation is better, we went over the entire outside walls with 4’x4′ sheets of 1½” polyurethane foam bonded to OSB, held on with 4″ screws. Over this is nailed recycled cedar shingles. From the inside to the outside, the layers of the walls are like this: 7/8″ OSB, polyethylene sheeting, 2″x4″ studs and 3½” various types of insulation, 7/8″ OSB, 1½” polyurethane foam, 7/8″ OSB, cedar shingles. For the first eight years, we used it primarily for winter storage, using a combination of two or three 75 watt and 40 watt incandescent light bulbs for heat, and a household window fan set on the floor to keep the air circulating in order to prevent cold spots from forming. This works great, and since we are targeting a temperature of 33°F, it was easy to maintain that temp with one to three light bulbs, plus the heat of the fan motor. We check the temperature every two or three days, or whenever the outdoor temp takes a plunge. We are able to maintain the inside temp between 32 and 35°F which is an ideal storage temperature for most root crops, by turning lights on and off. The only caveat is to keep the potatoes covered well enough so that they don’t see the lights and turn green. The fuller the cooler is, the more the thermal mass, and therefor the easier it is to prevent rapid temperature swings. We need check the full cooler only every few days even during the coldest January weather. Everything is stacked on pallets on the floor or on the back shelf, and a 2 inch space is maintained away from the walls. Horizontal slats along the walls assure this. It is critical to keep air circulation space all around the stored veggies to assure uniform temperature with no cold spots in winter or warm spots in summer. In 2006 we bit the bullet and had a local commercial refrigeration installer do a little moonlighting and set us up with a brand new 220V compressor and coils. Now we have a real cooler, useful in summer for keeping veggies cool, and it works even better for winter root storage since the compressor comes on when the daytime temp gets into the high 30’s and 40’s come late March, April and May. Nowadays the veggies that made it through a long winter don’t start to sprout or rot when spring comes, because we can maintain the “winter temp” in the cooler as the outside weather warms. This allows us to attend our farmers’ markets in April and May with wintered over root crops in prime condition. Our cooler sits in a shady cedar grove, which helps save summer cooling bucks. It is right beside our veggie washing and prep area for going to market. Note that before we “upgraded” to a compressor, the cooler worked just fine for winter storage, and only became less effective as the spring thaw began to warm it up. Leaving the door open on cold spring nights helped extend the cold storage season by perhaps a few weeks, but by mid April the roots were growing tops and the apples beginning to rot since we had no means of maintaining the cold. What would I have done differently? Made it 12′ x8′ or 12′ x12′ instead. Added even more insulation, probably starting with 2″x6″ studs for the walls to accommodate 6″ of insulation, and similarly with the roof. Our storage containers are stackable black crates ($4 each from Fedco) and standard wooden Eastern apple boxes, each of which holds just under a bushel. True roots and sunchokes go unwashed into the containers in plastic bag liners (trash bags work well). The bags are simply folded over and another container stacked on top. Potatoes and apples are stored without liners, since they don’t want 100% humidity. For more information on winter storage preferences of various veggies, see our Winter Storage Tips. |