![[Snakeroot Organic Farm logo]](pix/sof.gif)

…and now for something completely different…
At dawn
Canoe bow waves are quickly lost
on the shoreside
But go on out of sight
on the lake side.
-1986
The constant swish-swish of skis
On a day long ski.
The constant swish-swish of wiper blades
On a day long drive.
-1990
My dog, trotting barefoot
Steps on a garden slug
And thinks
Nothing of it.
-1999
Word spreads quickly
as I approach the pond.
All becomes quiet.
-1997
Hidden in the vines
a large warted cucumber
jumps out of reach.
A toad!
-1997
Delicate puffs
of marshmallow snow
carefully perched
on a branch,
await the trigger of my hat
to melt their way down my back.
-2010
Deep in the tomato jungle
Fruits of yellow, purple and red
Tell of their readiness
To go to market.
-2010
Sugarin' Chores
Snowflakes hurry through my flashlight beam,
As my boots knead new snow with spring mud,
On my nightly Hajj to keep the boil alive,
For as long as possible until the dawn,
To match the power of the flowing sap,
With my meager evaporator and will.
The prize at the finish line are jars of syrup
And Spring.
-2013
|
Planting Garlic
by Tom Roberts, November, 2009
Click on photos to enlarge.
This is a description of how we plant our garlic. We understand that our way isn't the only way to do it, but it has worked for us for
over two decades. Every year we improve on it a little. We share our experiences for beginners and veterans alike, hoping you'll gain something from our
story. These photos were taken from July 2009 to April 2010, and show the progression of our garlic planting during a typical year.
To see where garlic fits into our rotation scheme, visit our Crop Rotations page. Also see Mulching Garlic, Growing Rounds from Bulbils and Marketing Garlic Year Round.
|
| |
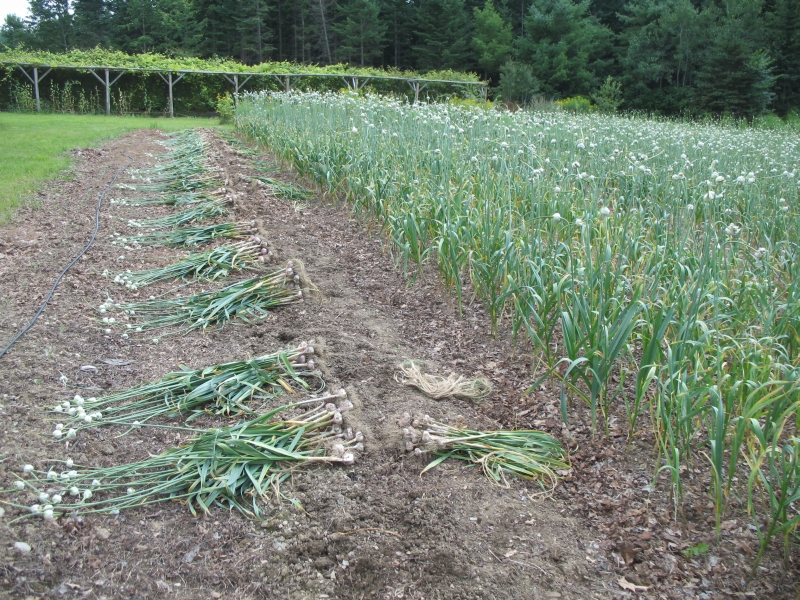
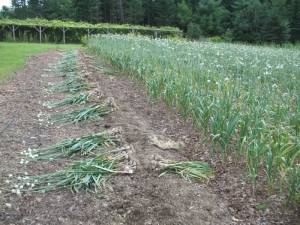
Harvest, August 2009
A few weeks after the end of harvesting the scapes, all of the stalks have straightened up and the bulbils have begun to fatten. We now
watch the garlic patch closely for the sign of the lower leaves beginning to turn yellow. Since each leaf is a wrapper around the bulb, as the leaves turn
yellow, that wrapper layer begins to disintegrate. When there are only five or six green leaves left, the harvest begins.
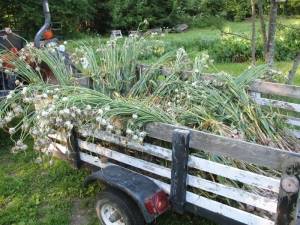
The Garlic Harvest begins with pulling the garlic stalks and bunching them as we go. After pulling and bunching a row, a loop of bailing
twine is used to bundle about twenty stalks at a time. The bundles are then hung in a shed to dry for up to a month before all the bulbs are cut off for
cleaning. A few are immediately cut and cleaned for market, but cleaning is much easier after the bulbs have thoroughly dried.
Once the bulbs are removed, the bulbil clusters are left to dry further, and eventually cut or snapped off. The empty stalks are then used to
mulch perennials, and the loops of bailing twine are stored away until next year's harvest.
|
|
|
| |
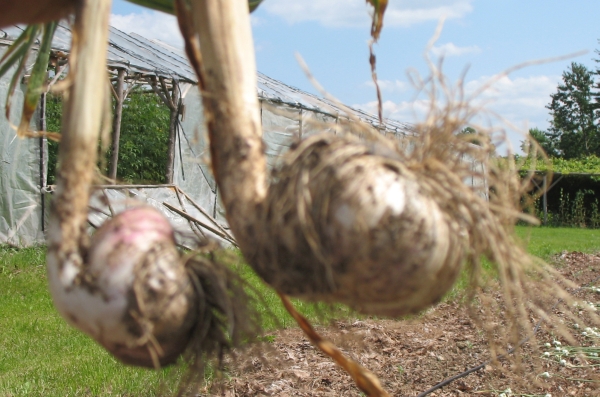
Even though we try to plant all of our garlic cloves and rounds with the root end down, we always manage to find a few that were planted
upside down. It doesn't seem to bother the garlic all that much—the garlic adjusts quite well. But it does seem to be asking it to a little more than
if it were planted correctly. If you ever see some of your garlic looking like this, that is what happened.
In the fall of 2009, we planted 7,000 row feet of garlic for harvest in August, 2010: seven 250 ft. long beds with four rows per bed. Plant spacing and row
spacing were six inches, meaning we planted 14,000 cloves and rounds. This is a significant expansion for us from previous years.
|

|
| |
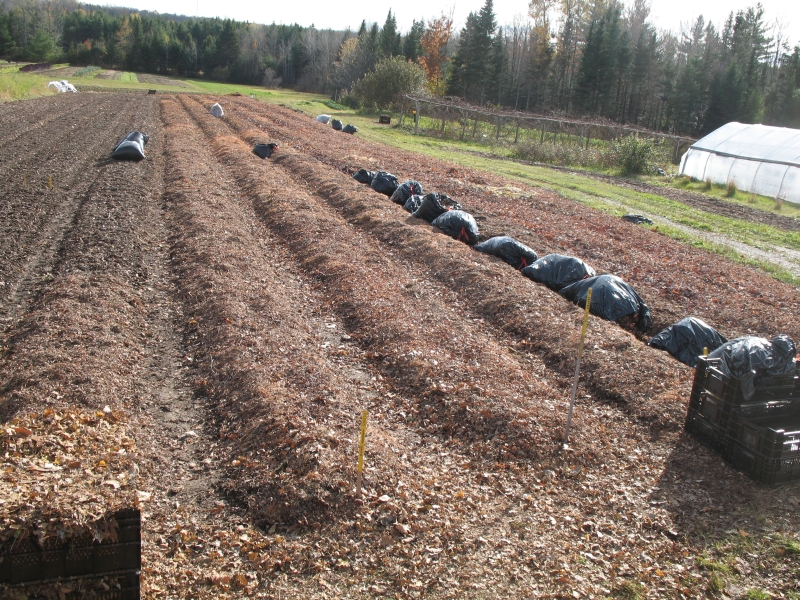
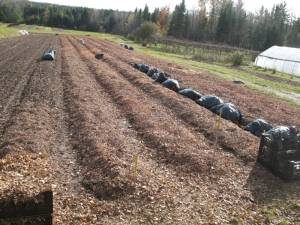
Planting, October 2009
Our technique for mulching garlic consists of mulching the planted beds with shredded leaves or pine needles, then going back and
mulching the aisles with whole leaves. In the photo at right you can see the beds in the process of being mulched, and bags of whole leaves in one of the
aisles ready to mulch that aisle.
Shredded leaves or pine needles don't mat down during the winter, so the garlic shoots can emerge right through the mulch come spring. Whole leaves, on the
other hand, do tend to mat down, giving any weeds in the aisles a very hard time. You can see in the top
photo how few weeds have emerged by early August harvest time. This thick mulch also cuts down on the need to water and adds a huge amount of organic
matter to the soil every year.
Right after the garlic is harvested, broccoli seedlings are transplanted through the old mulch, giving us a late October broccoli harvest.
|
|
| |
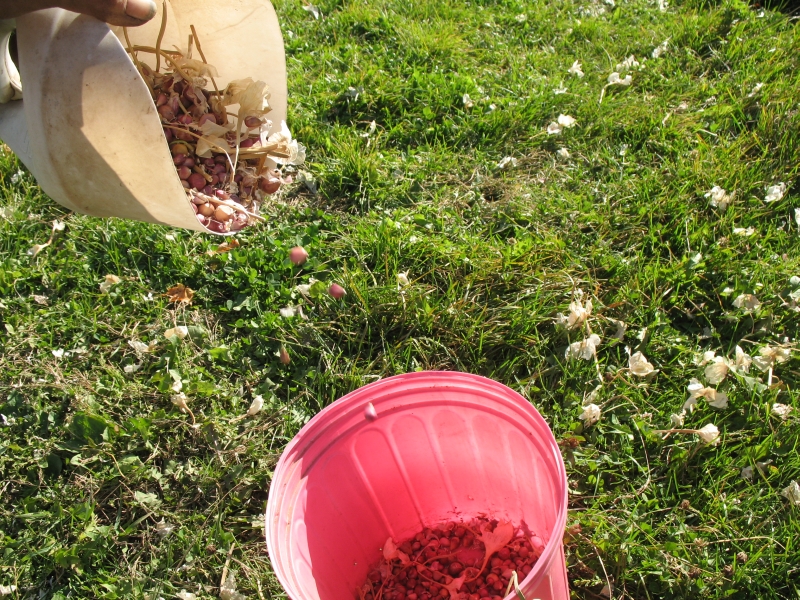
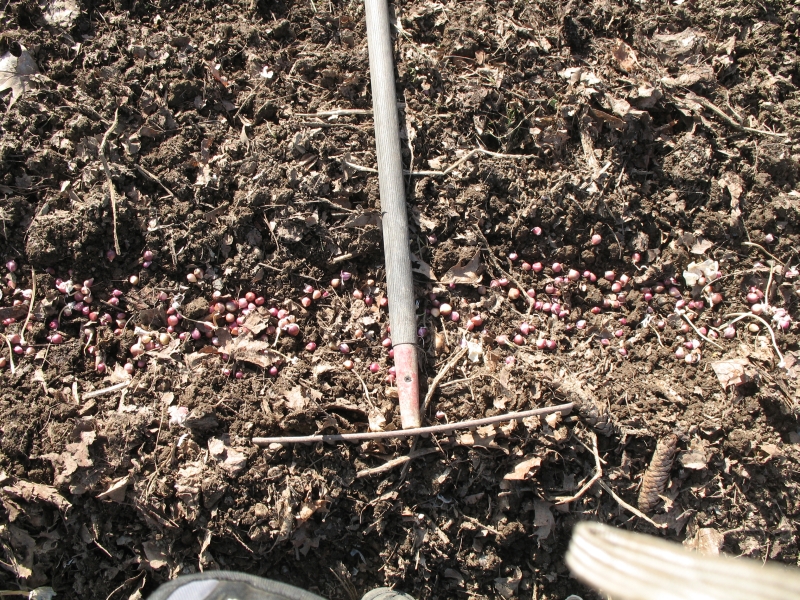
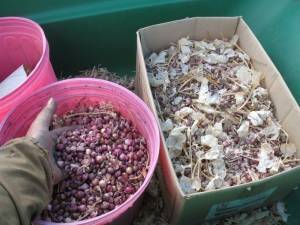
The first step in planting the garlic bulbils is to break up the clusters and winnow out the papery husks. Fortunately this is a breezy
time of year, and winnowing can be done outdoors.
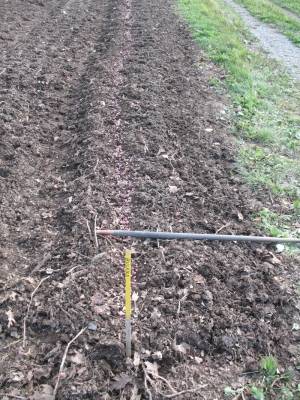
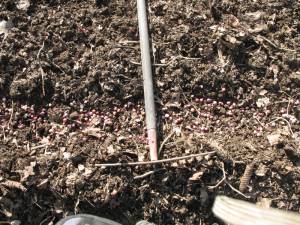
The bulbils are planted two rows to a bed. First a furrow is made with a rake, and bulbils liberally sprinkled into the furrow. Then the rake is used to
slightly cover the bulbils, and finally a layer of mulch is added. Note the holes in the bed to the left where garlic rounds have been planted.
|

|
|
| |
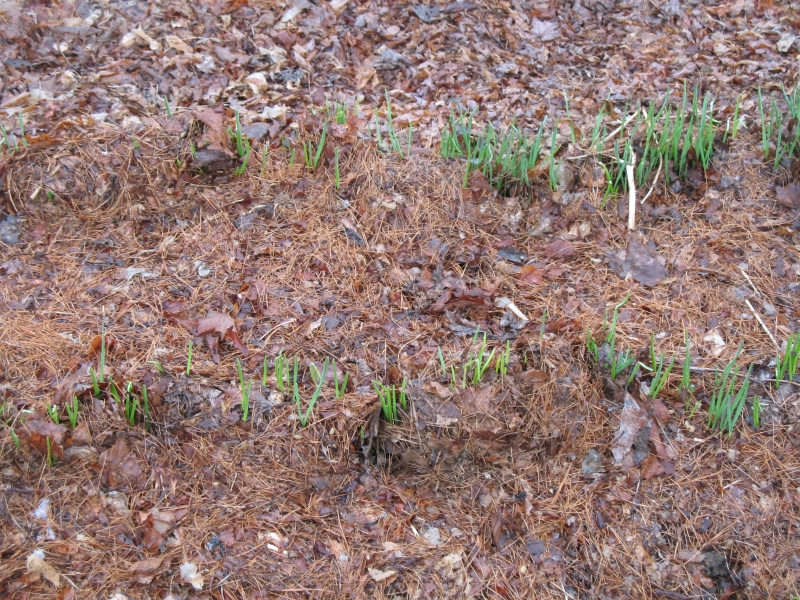
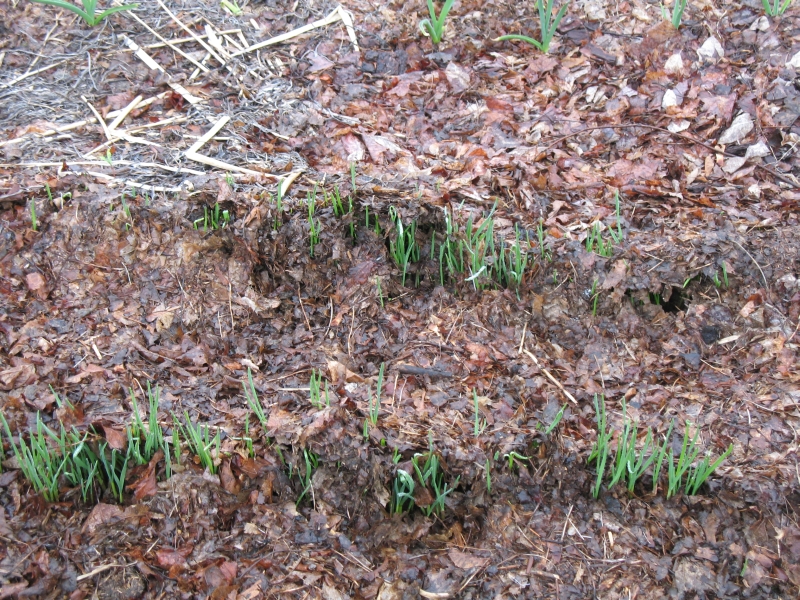
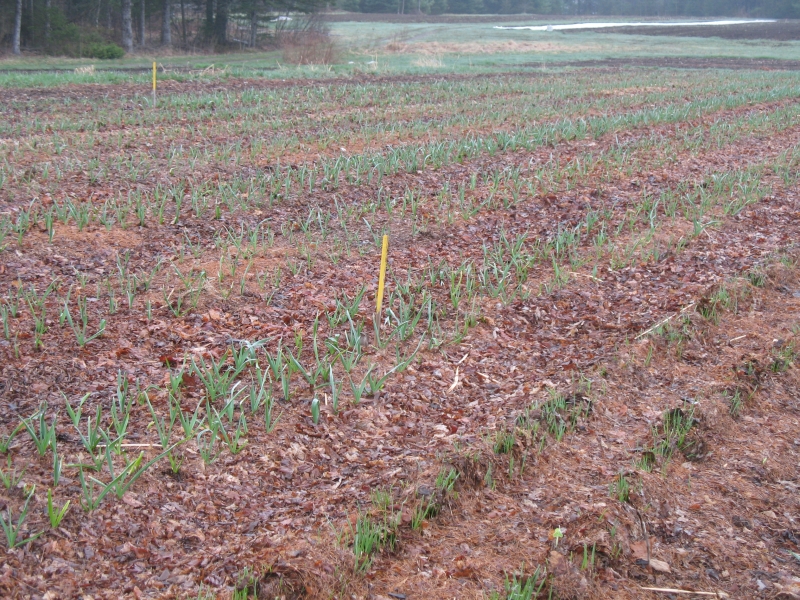
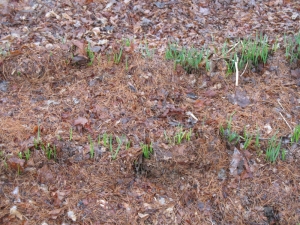
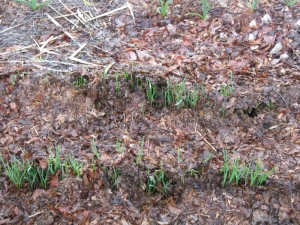
Below are photos from the following April, where the bulbils planted in the above photos are now emerging thru pine needles (left) and
thru shredded leaves (right).
| |
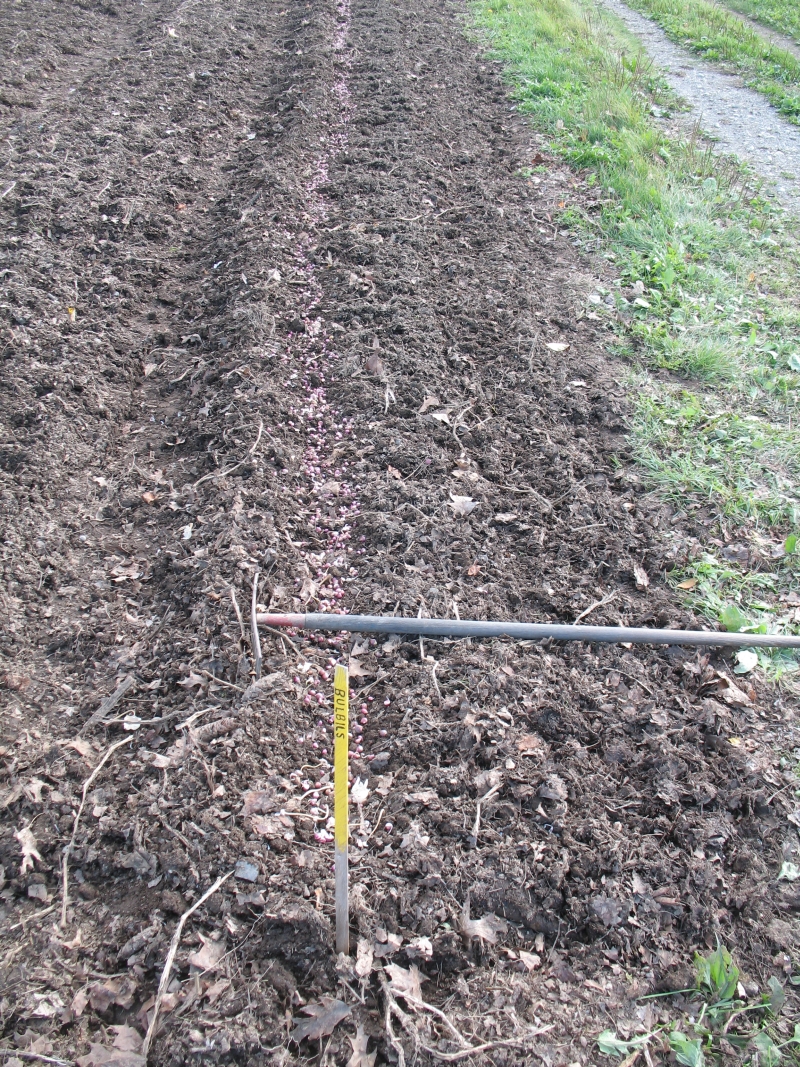
 Right: An early April view of the 2010 garlic patch. Expanded again this year to ten 250 foot beds with four rows per bed. the first bed (lower right) is
planted to two rows of bulbils.
Right: An early April view of the 2010 garlic patch. Expanded again this year to ten 250 foot beds with four rows per bed. the first bed (lower right) is
planted to two rows of bulbils.
About 1/3 of the garlic was planted with rounds, and about 2/3 with cloves. About half a bed was dedicated to softneck garlic for a two week earlier
harvest.
We also have two beds of garlic planted in Greenhouse 1 which will allow us to harvest scapes in June and garlic bulbs in July.
|
| |
|
|