![[Snakeroot Organic Farm logo]](pix/sof.gif)

At dawn
Canoe bow waves are quickly lost
on the shoreside
But go on out of sight
on the lake side.
-1986
The constant swish-swish of skis
On a day long ski.
The constant swish-swish of wiper blades
On a day long drive.
-1990
My dog, trotting barefoot
Steps on a garden slug
And thinks
Nothing of it.
-1999
Word spreads quickly
as I approach the pond.
All becomes quiet.
-1997
Hidden in the vines
a large warted cucumber
jumps out of reach.
A toad!
-1997
Delicate puffs
of marshmallow snow
carefully perched
on a branch,
await the trigger of my hat
to melt their way down my back.
-2010
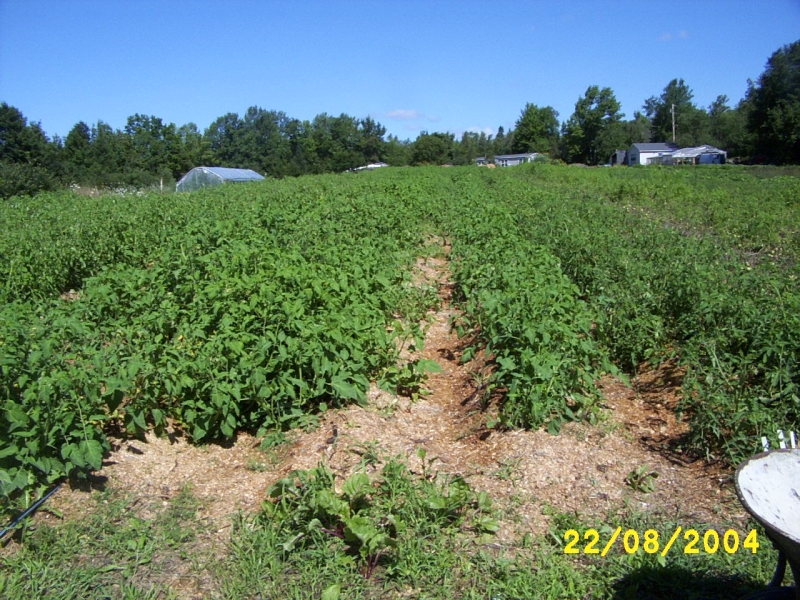
Deep in the tomato jungle
Fruits of yellow, purple and red
Tell of their readiness
To go to market.
-2010
Sugarin' Chores
Snowflakes hurry through my flashlight beam,
As my boots knead new snow with spring mud,
On my nightly Hajj to keep the boil alive,
For as long as possible until the dawn,
To match the power of the flowing sap,
With my meager evaporator and will.
The prize at the finish line are jars of syrup
And Spring.
-2013
by Tom Roberts, fall 2004
| |
|
Now I was faced with the prospect of still having to remove the seeds from inside the tomatoes. Experimentation determined that a strong spray from the hose wouldn't break apart the tomatoes. The kitchen potato masher seemed like it would work, but it didn't. I even considered removing my shoes and squashing them grape-fashion. After spending several days eyeing all those buckets while pondering how to proceed, Lois's daughter Lori suggested a drill powered paint mixer—she even bought one for us. That did the trick. If you've never seen one, a paint mixer is a rod about 18 inches long, one end of which fits into a power drill, and the other is equiped with a loose corkscrew-like fixture that actually does the job of mixing the paint—or in my case, the tomatoes. Before mixing, all the tomatoes should be ripe to the point of falling apart. A bucket should be no more than about three quarters full, lest the swirling tomatoes spill over the rim. Mixing a bucket takes about thirty to forty-five seconds during which time the bucket contents are tranformed from individual tomatoes into tomato soup—just the right consistency to leave for a week to ferment. Fermenting should be done in a fairly warm environment—we do it in the greenhouse after October—and you will soon see a layer of fuzz form on the top of the fermenting buckets. Did you ever wonder why ripe tomato seeds don't sprout in the warm wet envirnment inside a tomato? It's because each seed is contained in a bag of jelly which acts as a sprout inhibitor. Fermenting is our way of removing that bag of jelly, a process which in nature would be accomplished by the tomato falling to the ground and rotting, or travelling through the digestive tract of an animal. |
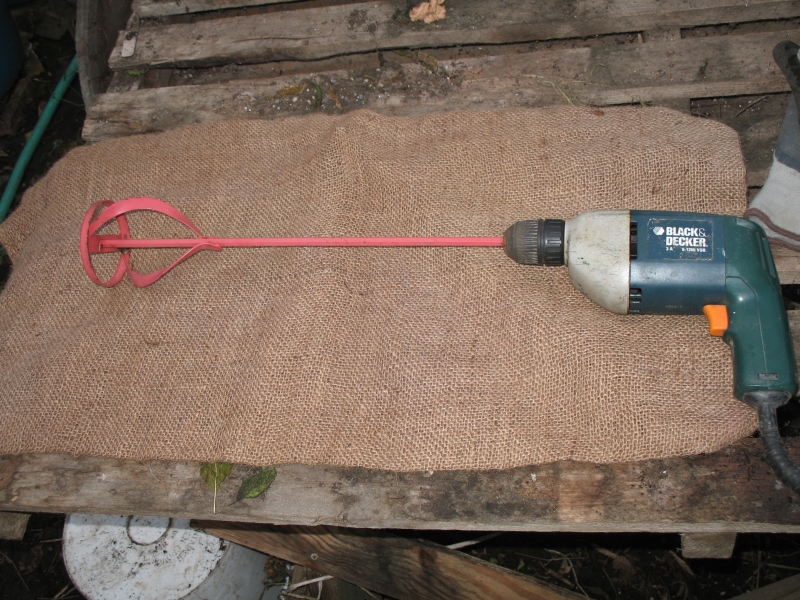 The paint mixer. The paint mixer.
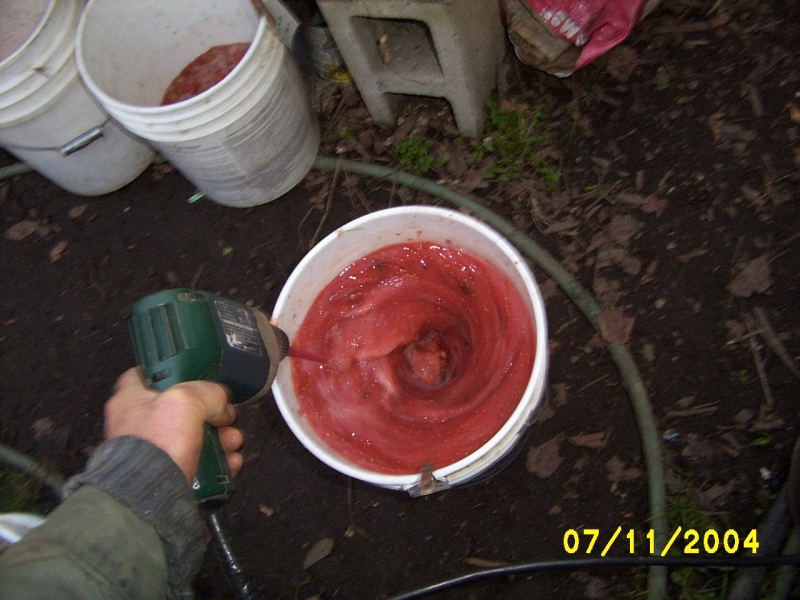
Using the mixer to stir the tomatoes. 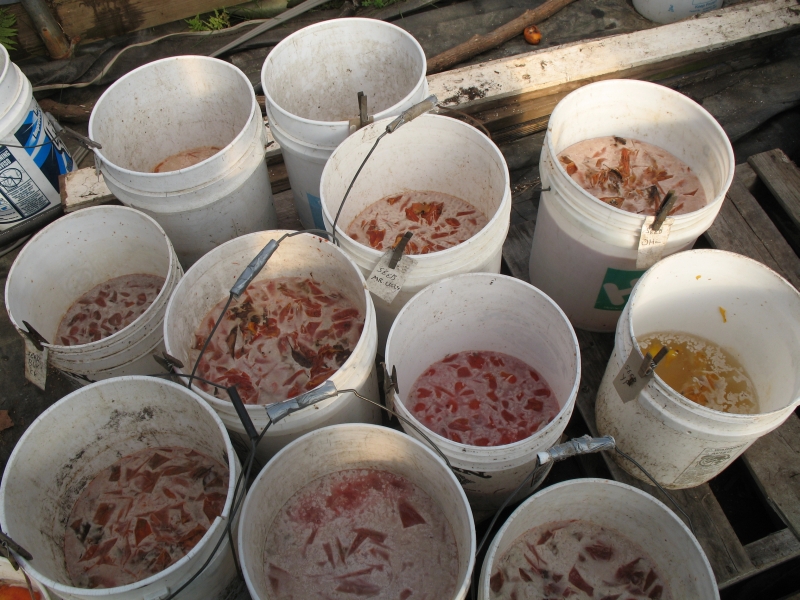
About a week after mixing, fuzz on the buckets. Note the yellow tomatoes on the right. |
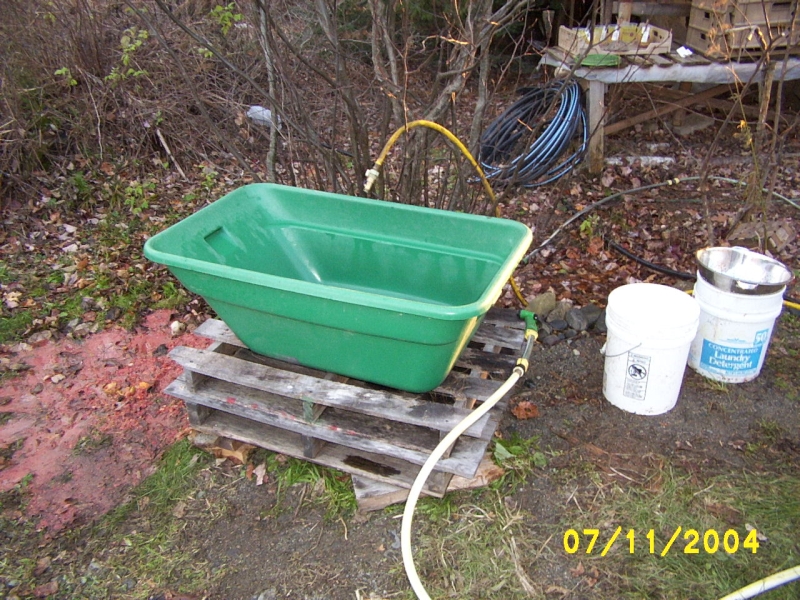
All set up and ready to go. 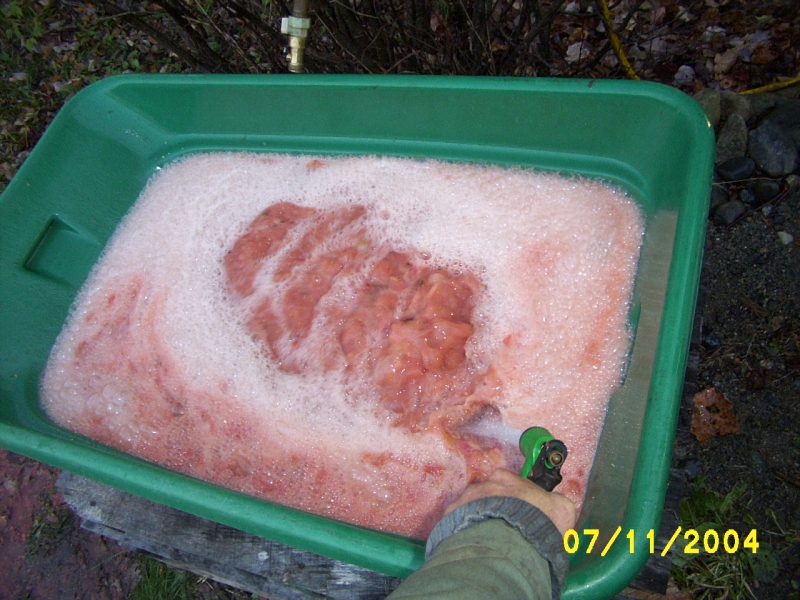
A hard spray of water in the tub of tomatoes creates a lot of foam. The tub can handle up to three buckets at a time. |
A week later I pour three buckets of stinking fermented tomato slop into my Wonder Wagon, a fifty gallon tub
on wheels. (Wonder Wagon, produced in Windham, Maine, by True Engineering, Organic Growers Supply catalog
No.9277.) We pop the green body out of the frame for better control while dumping off the floating tomato
pulp. |
|
After allowing a moment for the seed to settle, the next step is to pour off into buckets everything that is floating—which will be later carried to the compost pile—until all that is left in the tub is seed and tiny tomato parts in about an inch of slurry. Next I pour this last inch into a clean bucket and repeat a few times the strong hose spray then pouring off what floats until what remains is clear water with seed and small tomato parts at the bottom. I have come to be fairly aggressive in pouring off even the first few tomato seeds that start to be poured out, as these are the lightest of the seeds and less likely to germinate well. | |
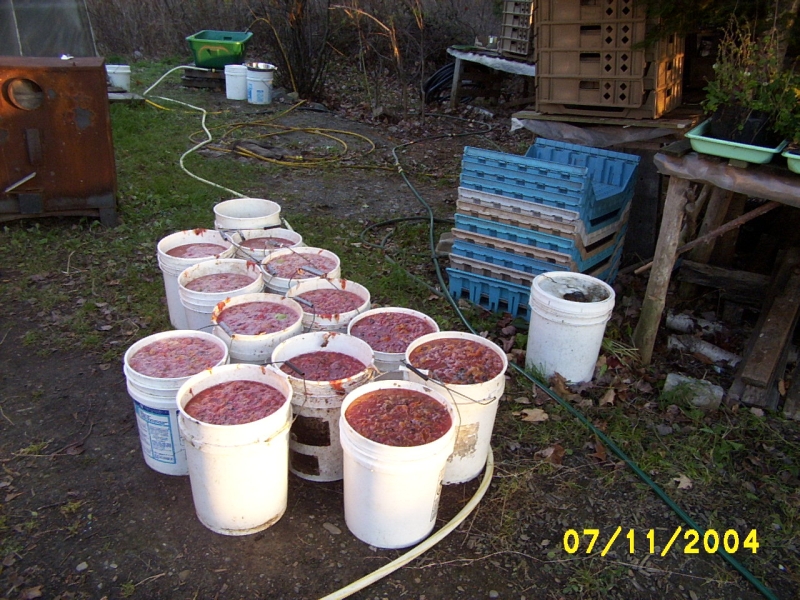
Buckets of now nearly seedless tomato slurry poured off from the green tub. |

The buckets are then poured into the tractor bucket which is headed for the compost pile. |
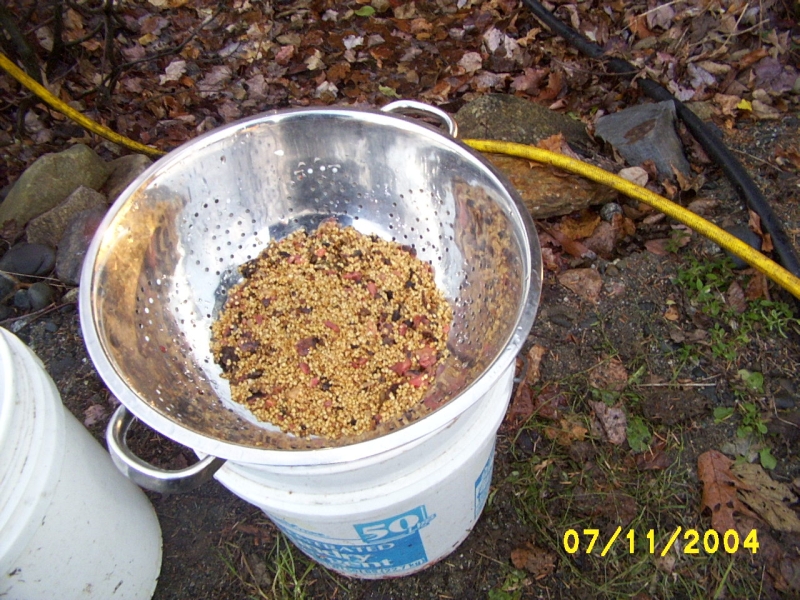
Forcing the seeds thru a colander removes any non-floating detritus. |
What remains then gets poured through a colander over a second clean bucket. The colander I use has 5/32 inch holes which allow seeds, but not the last of the tomato debris, to pass through. (I determined the hole size by passing a 5/32 drill bit through the holes.) Again the spray from the hose is needed to coax the seed through the colander; this takes a few minutes. After pouring off most of the water, refilling and pouring off again until the water is clear, the last inch of water and the clean seed is poured thru a tea strainer. The seed then goes into a quart yogurt container by inverting the container over the strainer and flipping everything over. |
|
To eliminate seedborn diseases, the seed is then covered with a ten percent bleach solution (one part household bleach to nine parts water) and left to stand forty minutes. I prepare this bleach solution ahead of time and store it in a jug, all labeled and ready to use. | |
|
In trays that are suitable for stacking, place several layers of newspaper (perhaps 20 layers or so). After the bleach soak, the seed is rinsed with water and poured thru a second tea strainer (to avoid contamination from the pre-bleach-soak strainer), allowed to drain a bit, and then spread on the newspaper to dry. (Do NOT use paper towels for this, or you will never get all of the seeds removed from the towels!) Spread out the clump of seeds with your fingers to speed drying and prevent mold. If we are processing more than one variety at a time, we write the variety name right on the newspaper. What you actually have on the newspaper are many clumps of seed, each small enough to dry in a few days. We stack trays lined with several layers of newspaper behind a fan, and within two days the seeds are dry enough to rub the clumps of dried seed between the palm of my hands until they separate into individual seeds. |
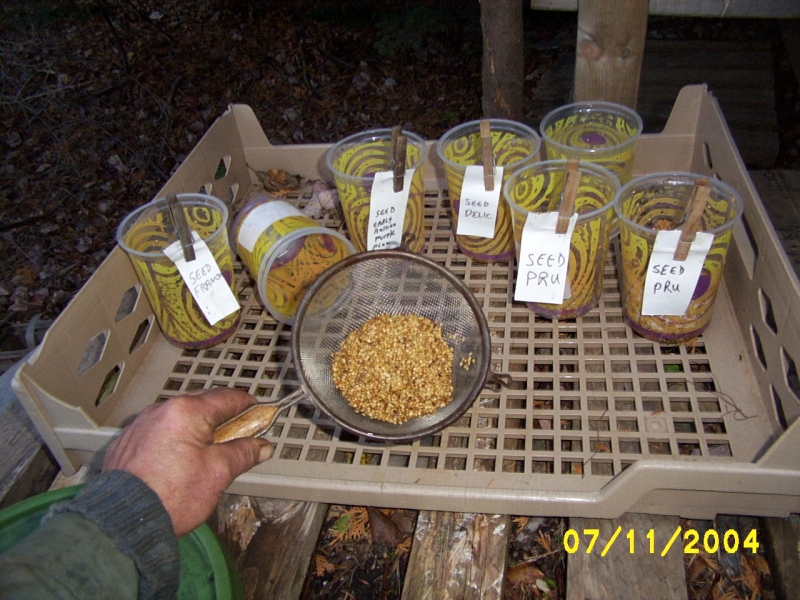
Finally after pouring thru a strainer, we have our tomato seeds. The original variety tags from the buckets move along to the yogurt containers to keep track of multiple varieties. |
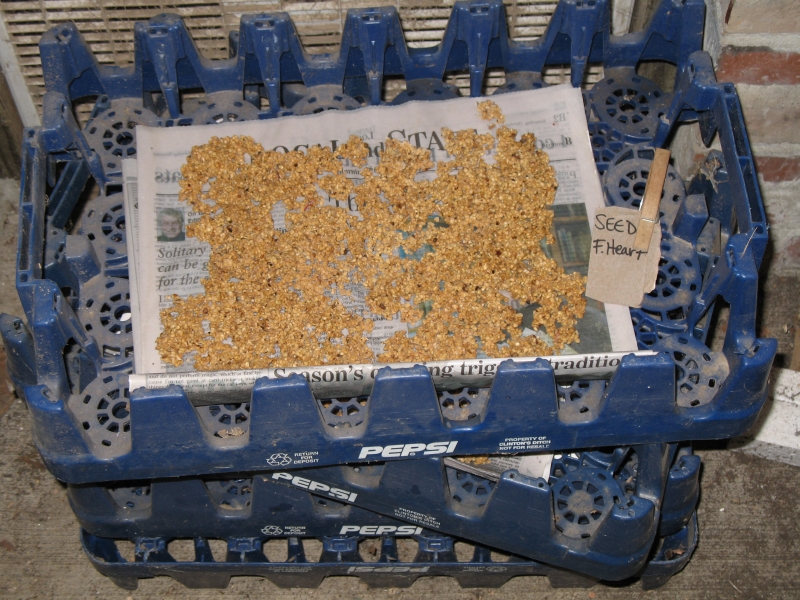
Seeds drying on newspapers in stackable trays, with window fan behind. In a few days these will be dry enough to package and put into storage. The trays are on the upwind side of the fan, not the downwind side. |
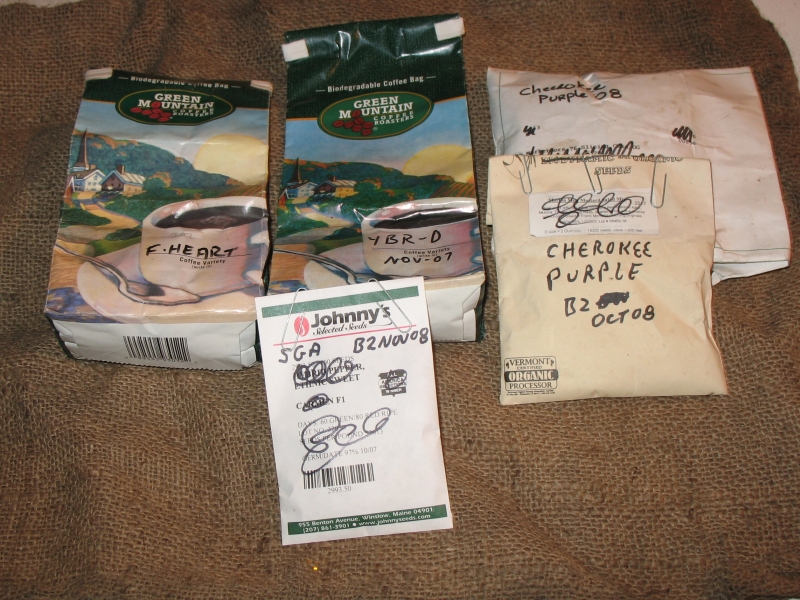
Seeds packaged and labeled for storage. Paper clips work well to keep the envelope flaps closed. Don't forget to include the year the seed was saved. |
|
The seed is then stored in a recycled (non-tomato!) seed envelope and labeled with the variety, date—and a batch number if you are doing more than one batch of the same variety. For varieties where we are saving many ounces of seed, we store the seed in recycled one pound coffee bags. Tomato seed will remain viable for several years if not abused in storage by high heat and/or moisture. In 2002 we successfully grew Nepal tomatoes from seed bought in 1992 and kept in the house at or near room temperature. To insure even longer life, you can put your seed packets in a ziplock freezer bag in the freezer. Because we store a fairly large quantity of both bought and saved seed, we store our seed in metal cans in the woodshed, where for three seasons the cool to freezing temperature is close to ideal. The metal cans reduce moisture absorbsion and prevent critters from chewing on the packets. I have described here our tomato seed saving system that has developed over the past few years. It works well for us. My hope is that I may have given you a hint or two that will make your seed saving a bit easier, or even to inspire you to begin saving seeds for the first time. If while reading the above, you find you have developed an even better technique, please share it with us. Tom Roberts and Lois Labbe operate Snakeroot Organic Farm in Pittsfield,
Maine, where we market our two acres of certified organic produce, herbs and
seeds at up to six farmers' markets a week from May till November. Tom can be
contacted at tom@snakeroot.net
| |
 Tomato Seed Production
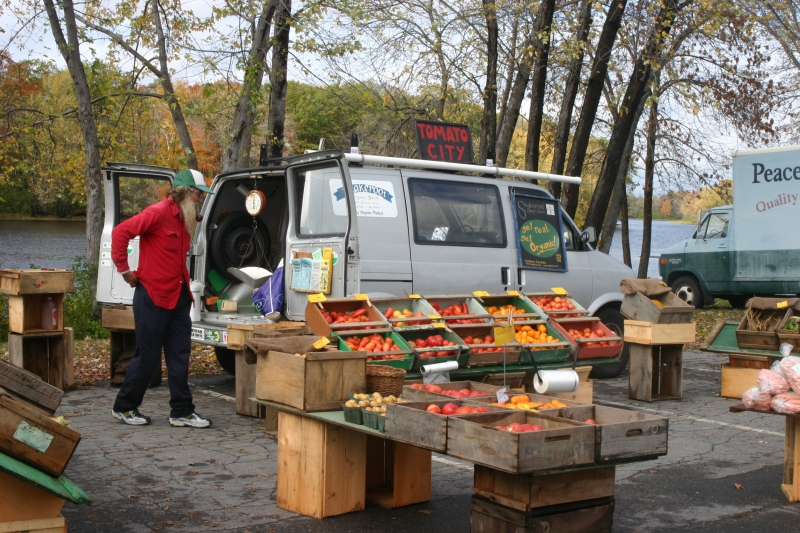
 27 Organic Farm Road, Pittsfield Maine 04967 http://www.snakeroot.net/farm owned and operated by Tom Roberts & Lois Labbe Tom: Tom@snakeroot.net (cell) 207-416-5417 or Lois: Lois@snakeroot.net (cell) 207-416-5418 Gardening for the public since 1995. |
|
|
